A simple step-by-step method using BrightData Browser API to automate sites blocked by Cloudflare.
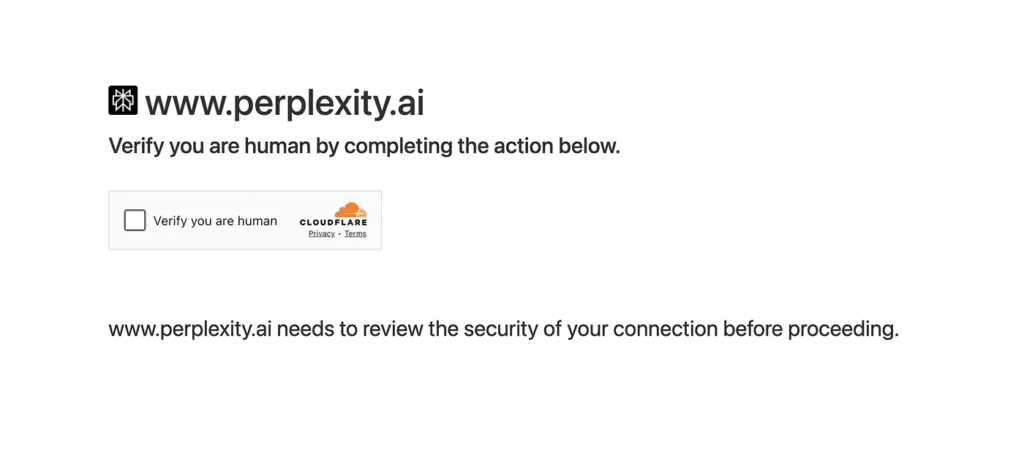
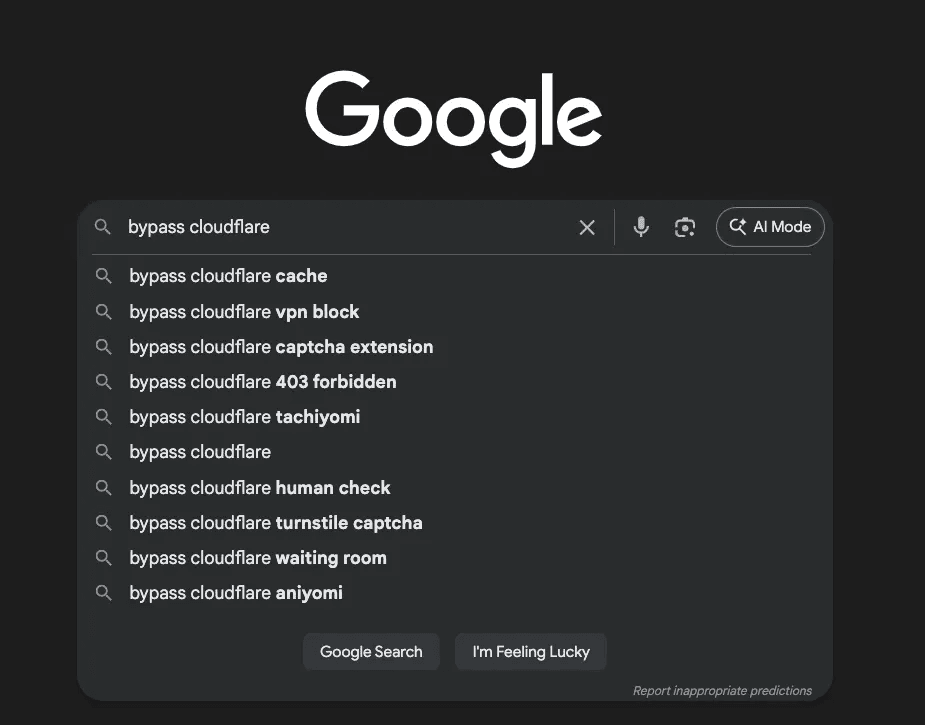
Your automation runs perfectly — until it hits Cloudflare. And suddenly, everything stops. The page doesn’t load. Your bot freezes. And you’re staring at that one sentence: “Verify you are human.”
Yeah, that one. Today, I’ll show you how I dealt with this exact nightmare while building my own automated clicking program — how to bypass Cloudflare’s bot detection.
If you’ve ever tried automating web clicks or scraping data, you’ve definitely felt this pain. Because no matter how smooth your script is, once Cloudflare steps in, your automation hits a wall.
Like this:
Like this:
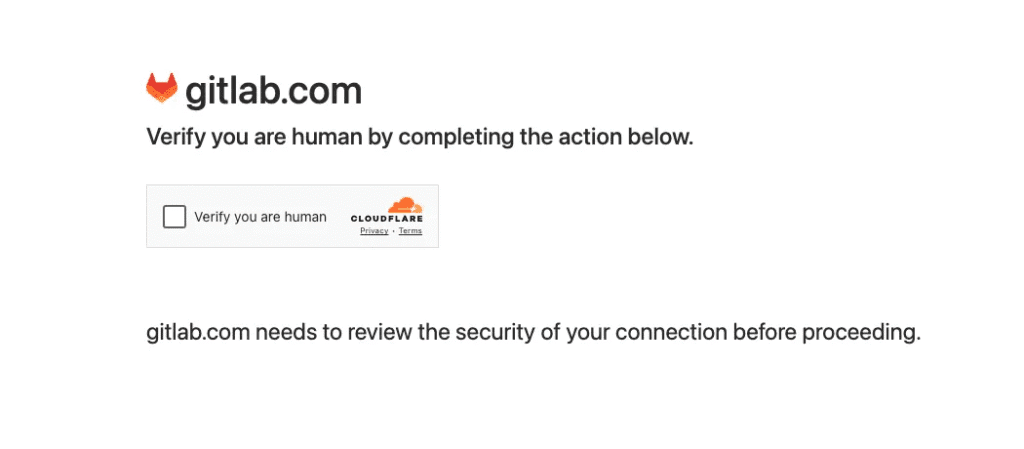
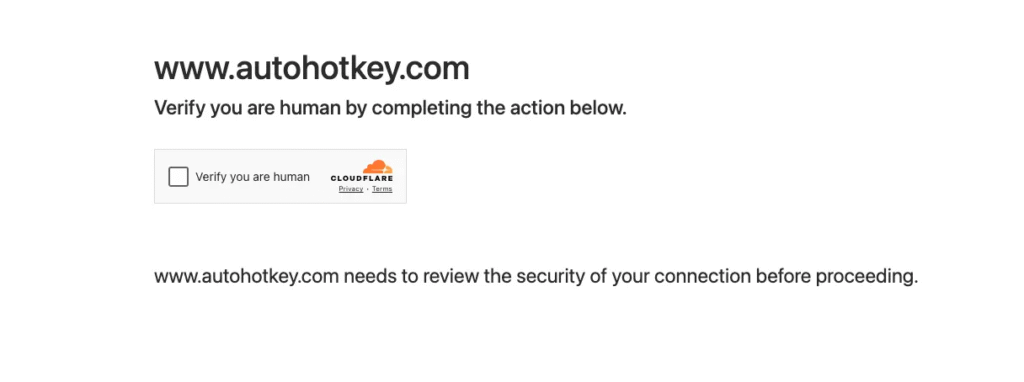
And like this:
Normally, when we browse manually, all we need to do is tick the box “☑️ Verify you are human” — and we’re in. But for automated browsers or headless scripts? That single checkbox can stop everything.
Cloudflare
Those three pages I showed you? They’re just examples — there are dozens, maybe hundreds more like them. And they all share the same annoying trait.
They’re fronted by Cloudflare.
Modern sites put Cloudflare in front of their stack to handle everything from bot detection and simulated-click detection to anti-scraping rules. In other words, Cloudflare sits between your script and the real site — watching, profiling, and deciding who’s a human and who’s a bot.
So when you build automation with Playwright, Selenium, Puppeteer, or any headless/browser-automation library, this is the nightmare you hit: Cloudflare sees the traffic pattern, flags the session, and throws up a verification wall. That single layer can stop your whole automation pipeline dead in its tracks.
Why normal frameworks fail
I tried everything.
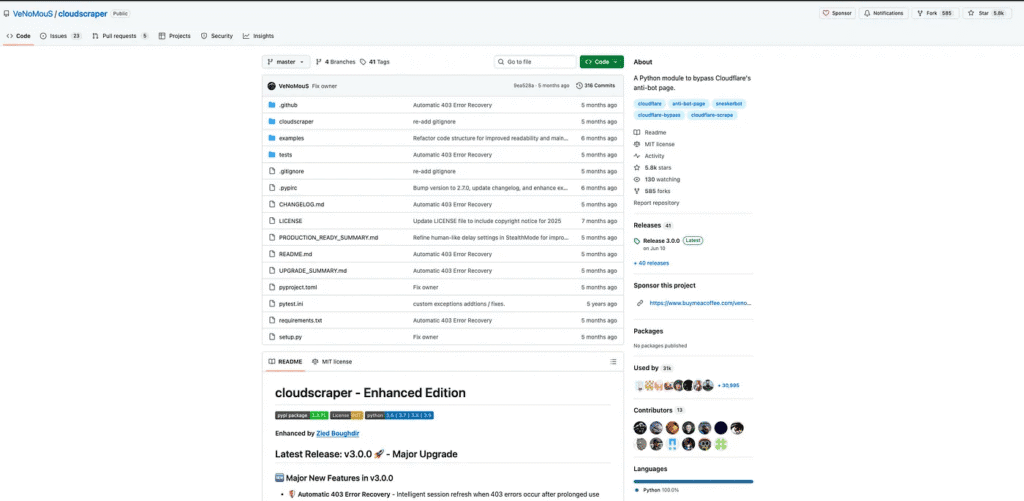
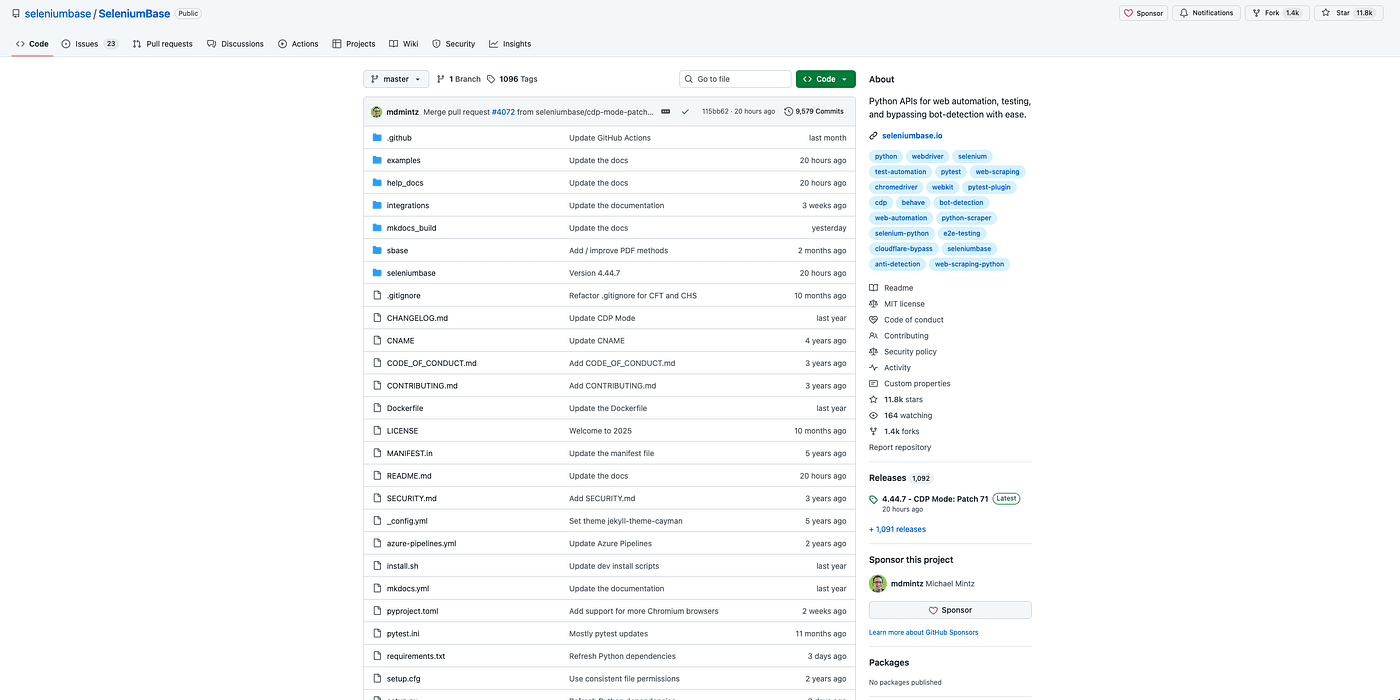
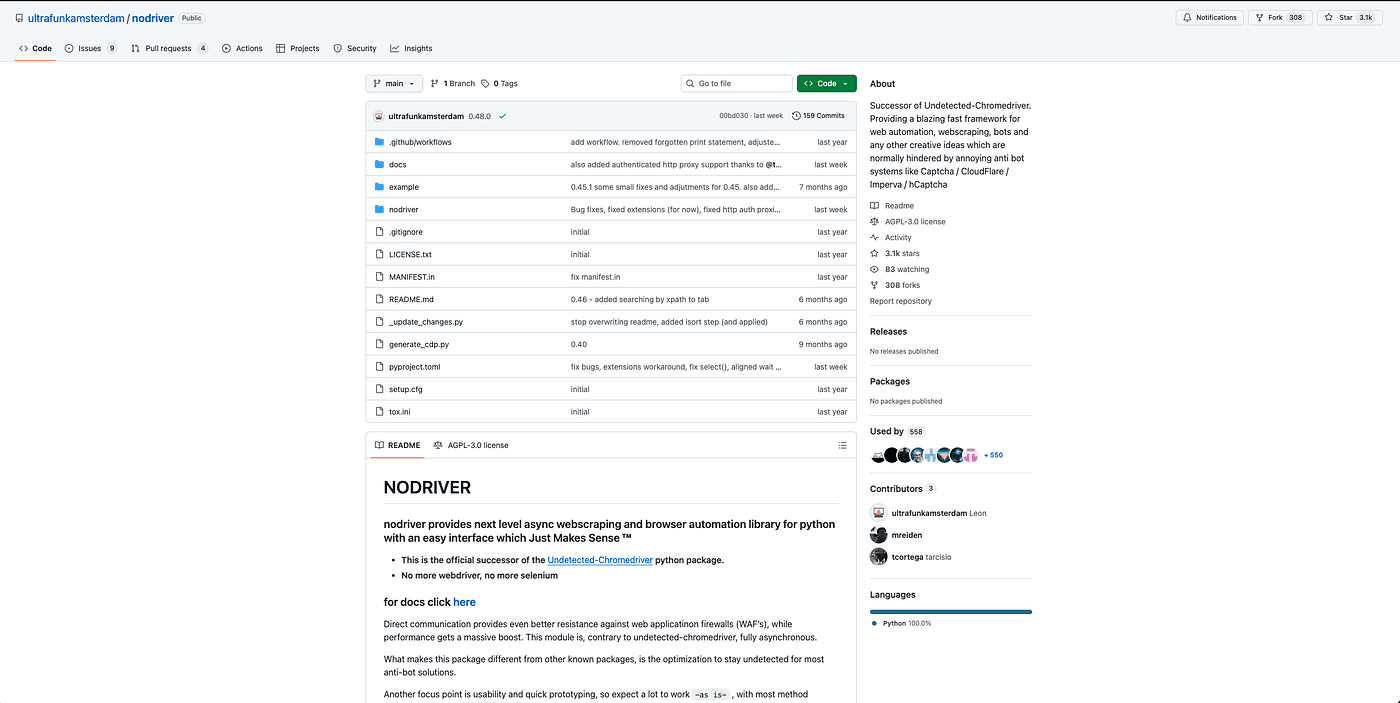
I spent hours digging through tutorials, blog posts, and popular GitHub repos — anything that promised a way past the Cloudflare gate and straight into the site’s homepage. I tested well-known open-source projects and automation frameworks one by one.
For example, I tried:
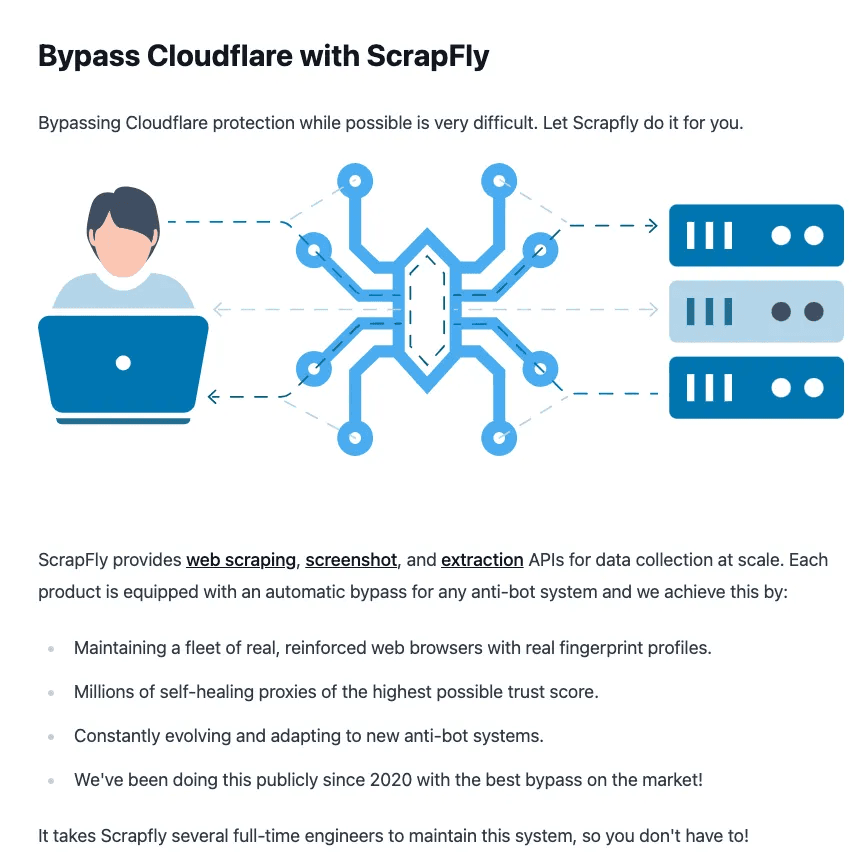
I also followed practical write-ups like this walkthrough on Scrapfly:
I installed them, read the docs, ran examples, tweaked configs, and even combined techniques from multiple projects. I tried proxies, stealth plugins, custom headers, session replay tricks — the whole toolbox.
But despite all that effort, none of them solved my problem. Cloudflare still blocked the sessions or forced verification. The wall remained.
BrightData setup
Then I found a fix — and no, it wasn’t some ultra-secret hack or exotic exploit.
It was simple: use a service that already handles the hard part for you.
That service is BrightData .
BrightData provides proxy + browser-automation solutions that can present requests in a way Cloudflare accepts. In short: instead of fighting Cloudflare from your side, you let a service that already understands those protections do the heavy lifting.
So next, we’re going to test BrightData’s service to see if it can help us bypass Cloudflare. The first concrete step is simple and important — create a BrightData account.
Do that now so we can move to the exact configuration and code I used in the next section.
Browser API config
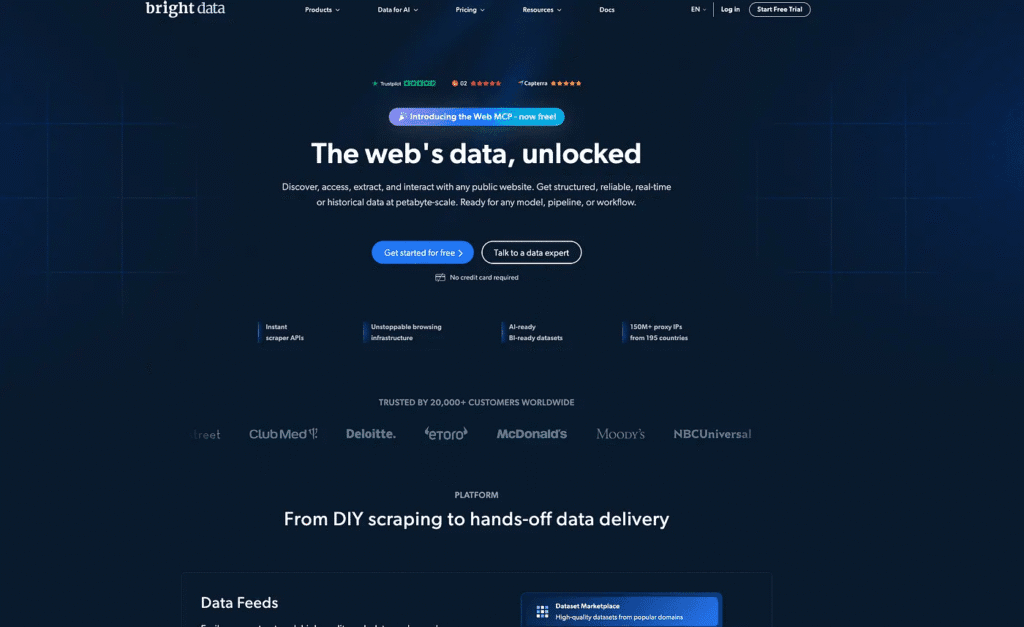
After you finish registering and land on the BrightData homepage, you’ll notice it offers a lot of different products — various network access and data-collection services.
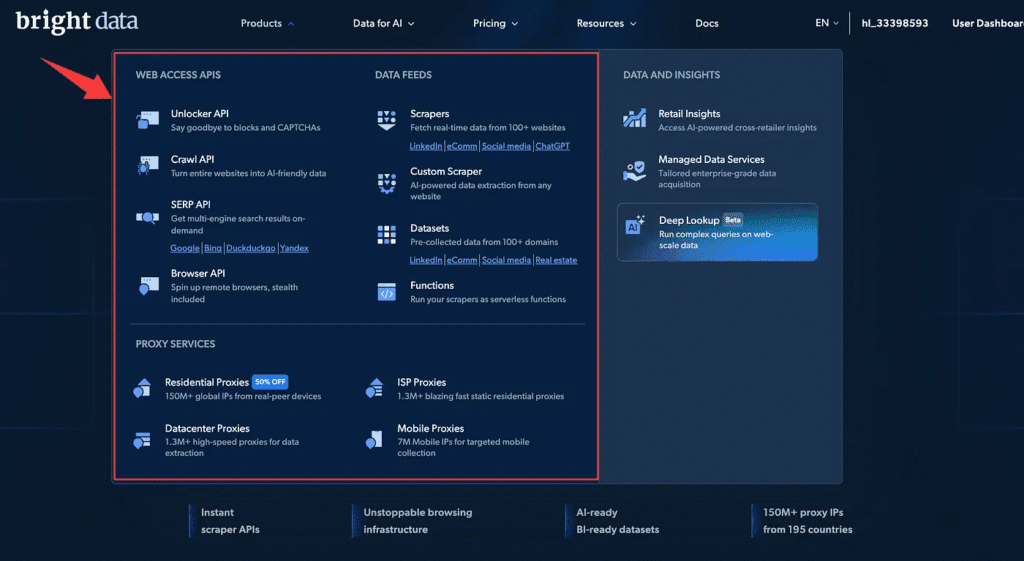
For this tutorial we’re using Browser API. This product can launch a BrightData-managed remote browser to help us bypass Cloudflare.
Click Browser API. You’ll see it’s described as a tool that simplifies dynamic scraping: it runs and scales Puppeteer, Selenium and Playwright scripts on fully managed browsers, and it includes built-in CAPTCHA solving plus automated proxy management. Yep — that’s exactly the functionality we need.
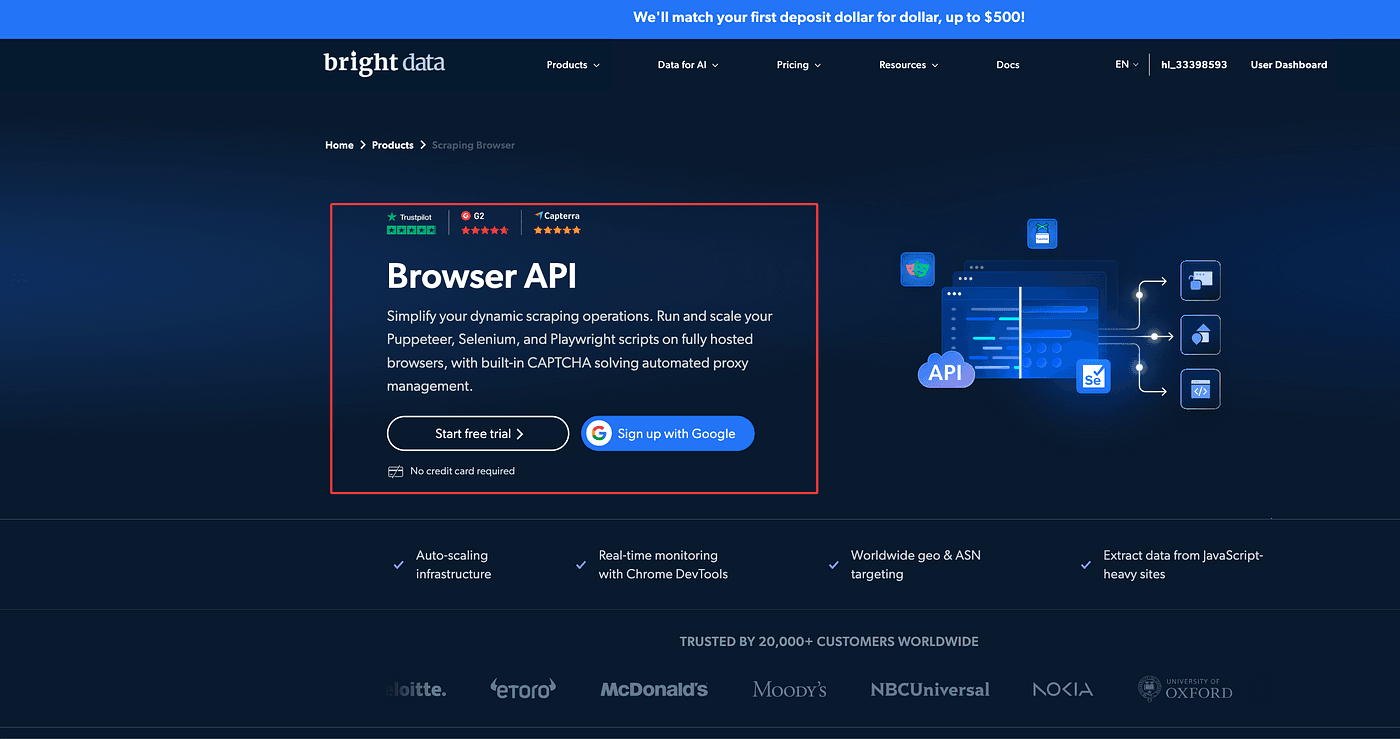
Next, click Start free trial to enter the console/back-end interface.
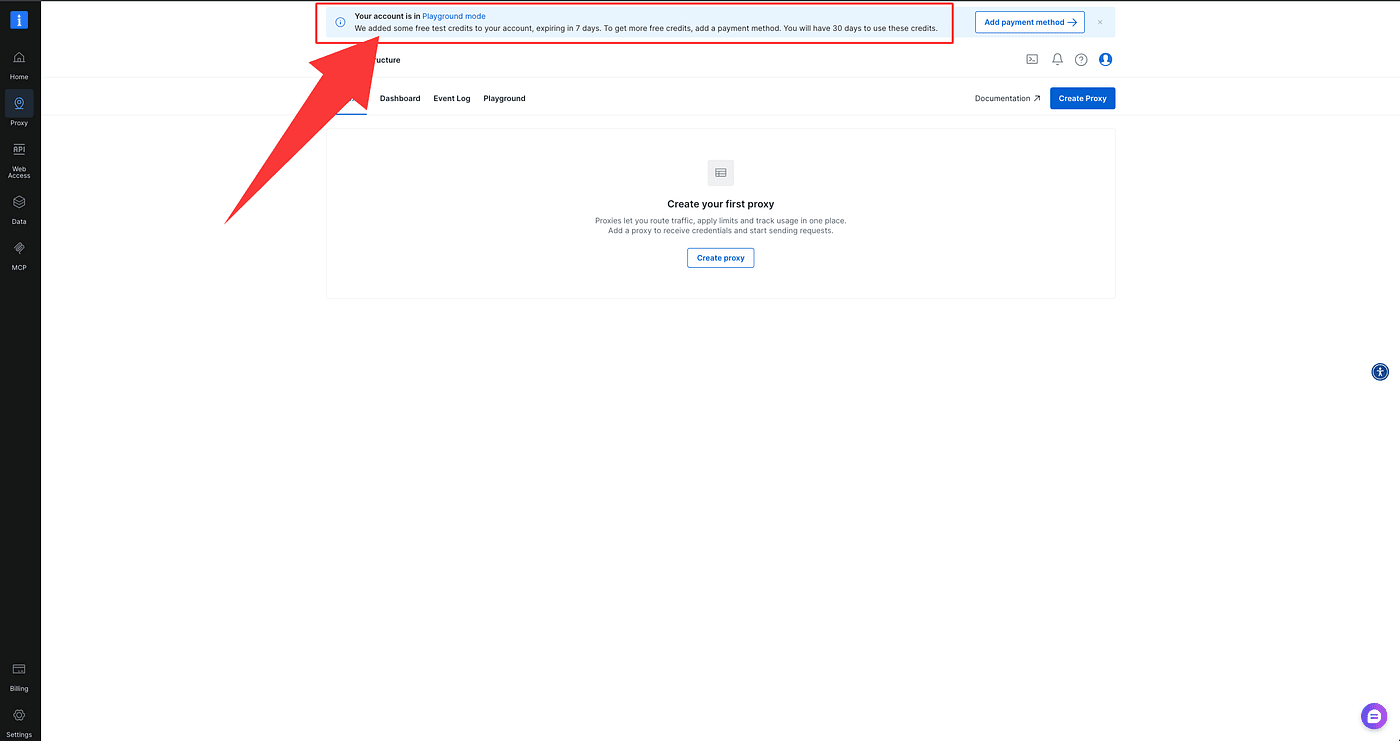
There you’ll see BrightData has given you some free credits for testing — note they’re time-limited (they last 7 days).

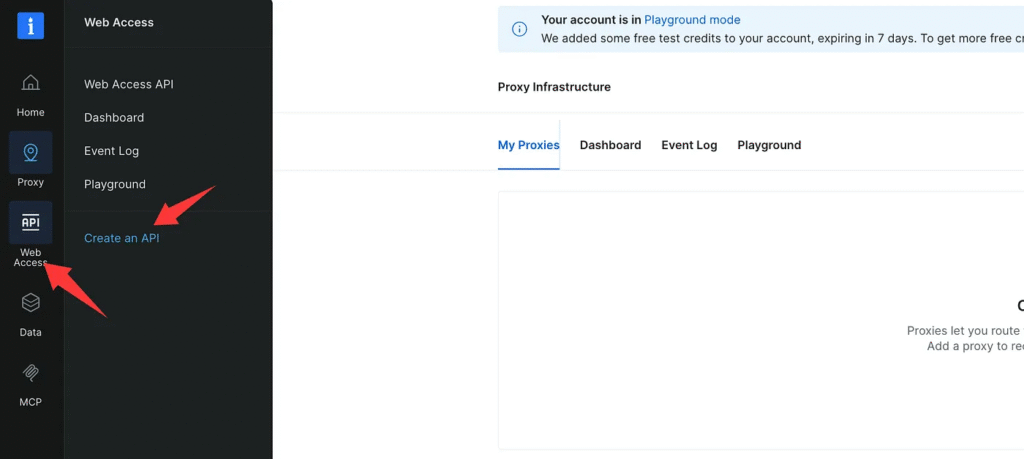
Now open the left sidebar, and in the popped-out menu click Create an API.
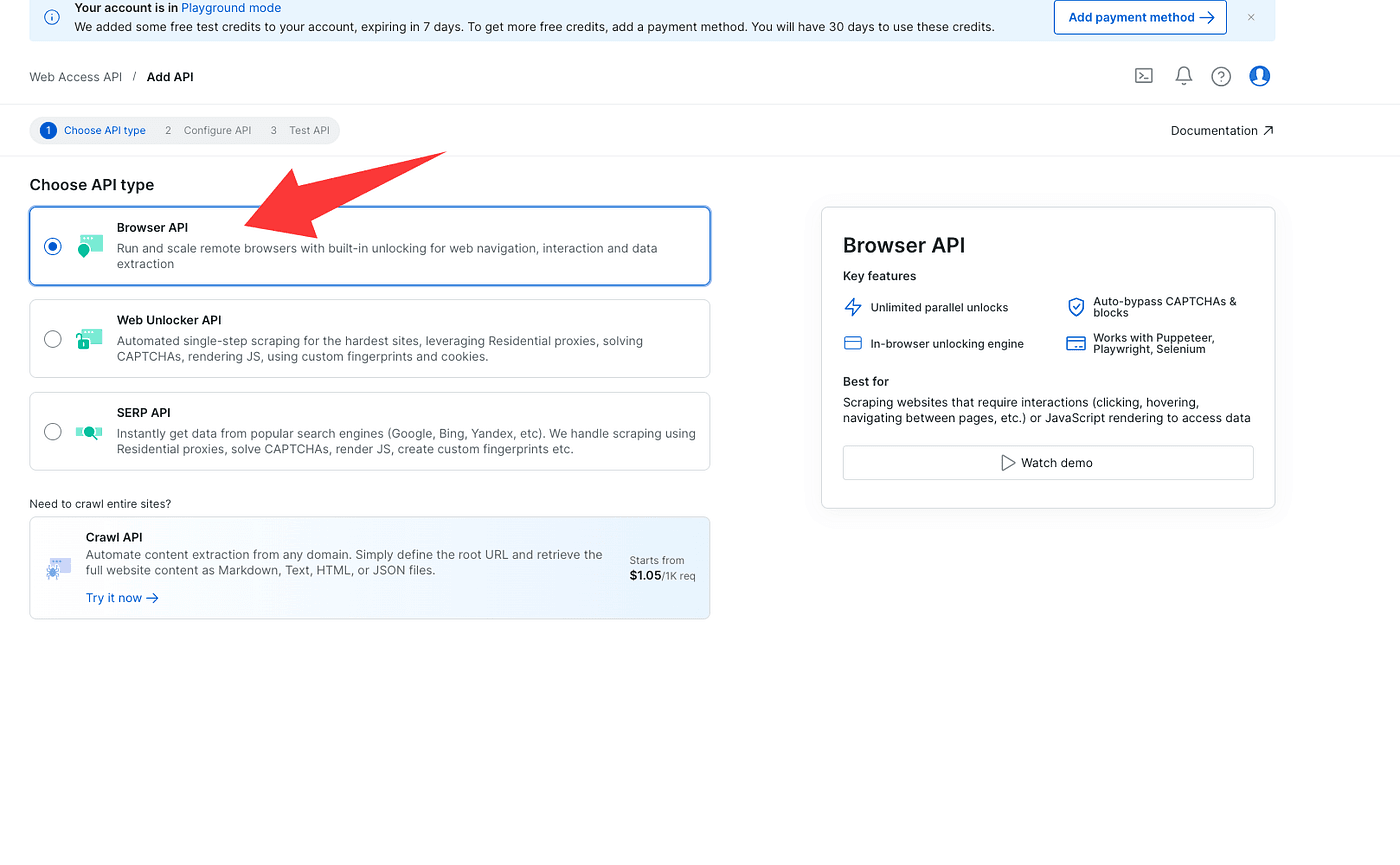
Choose Browser API on the product selection page.
Continue to the next step — on this page CAPTCHA Solver will be checked by default (leave it checked). You don’t need to change anything else.
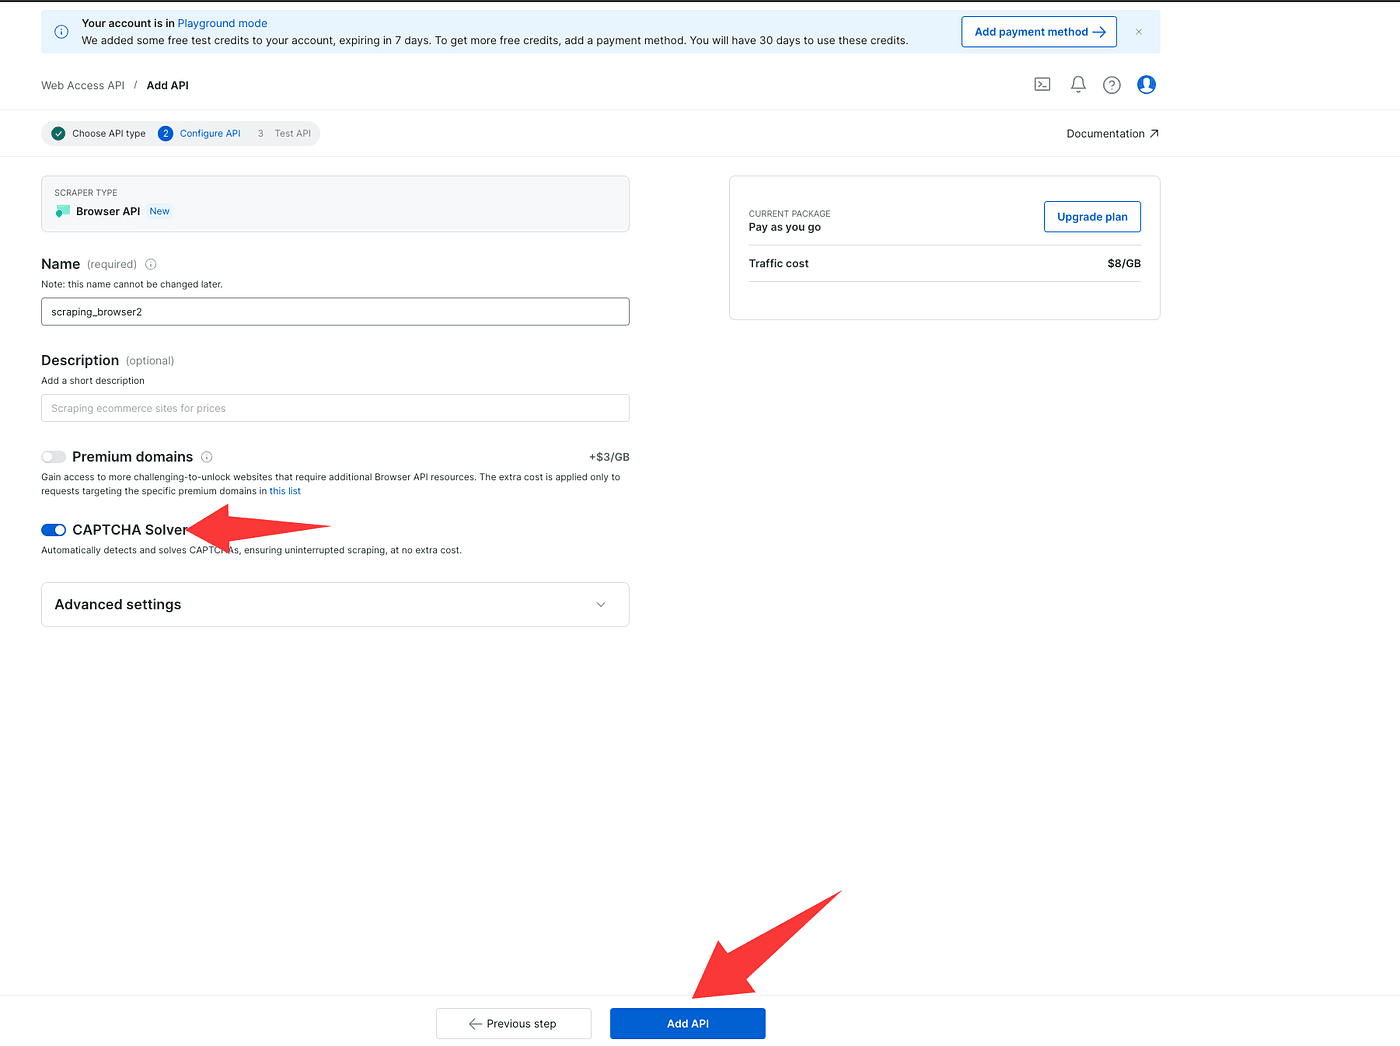
Finally, click Add API.
After you add the API, the console will show the endpoint information for connecting to the remote browser.
Quick note on protocols — don’t skip this:
- If you use Puppeteer or Playwright, connect to the remote browser using the WebSocket protocol.
- If you use Selenium, use the HTTP protocol to talk to the remote browser.
Next, open the Playground to try things out. The UI has two main tabs: Playground and API Examples.
- Playground offers two ready-made scenarios (travel site and e-commerce), which let you visually experience the automation flow.
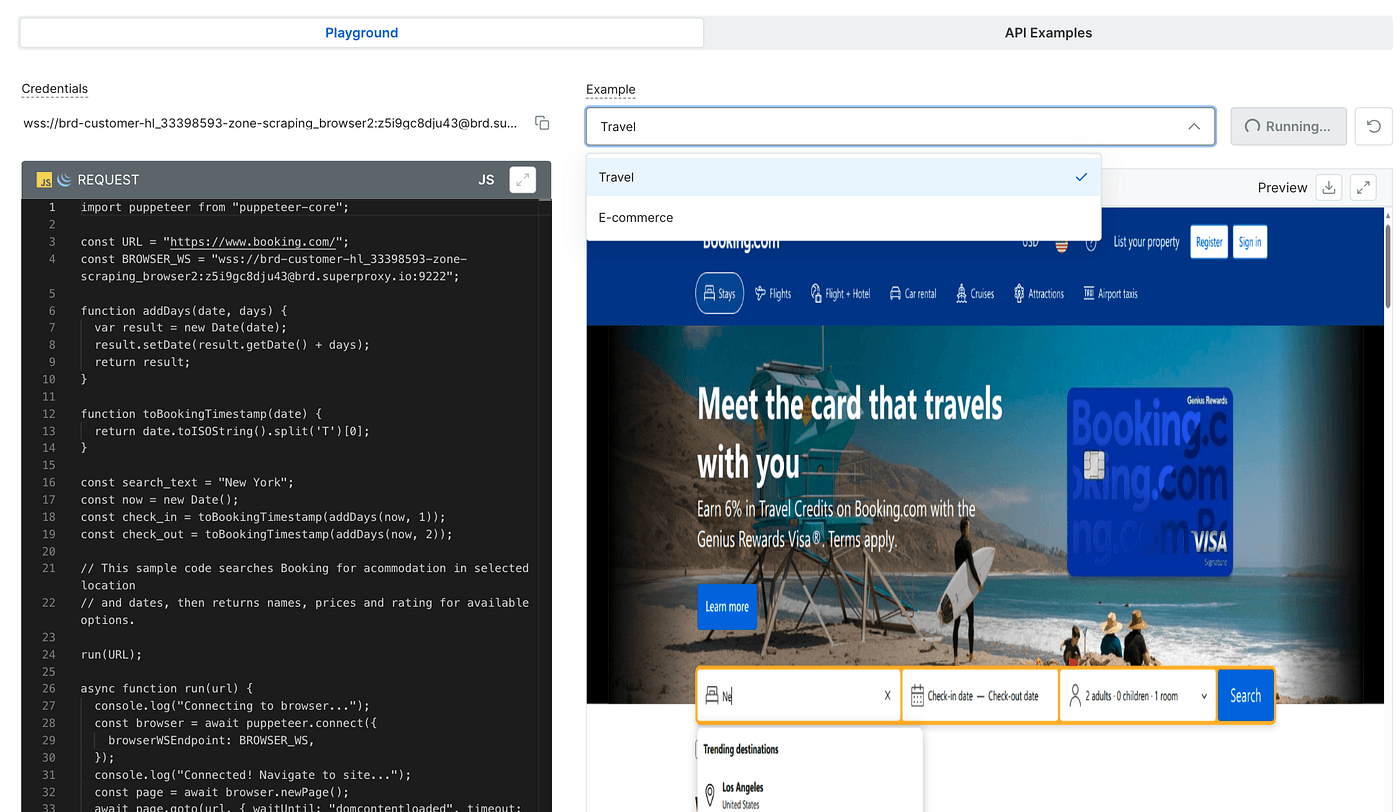
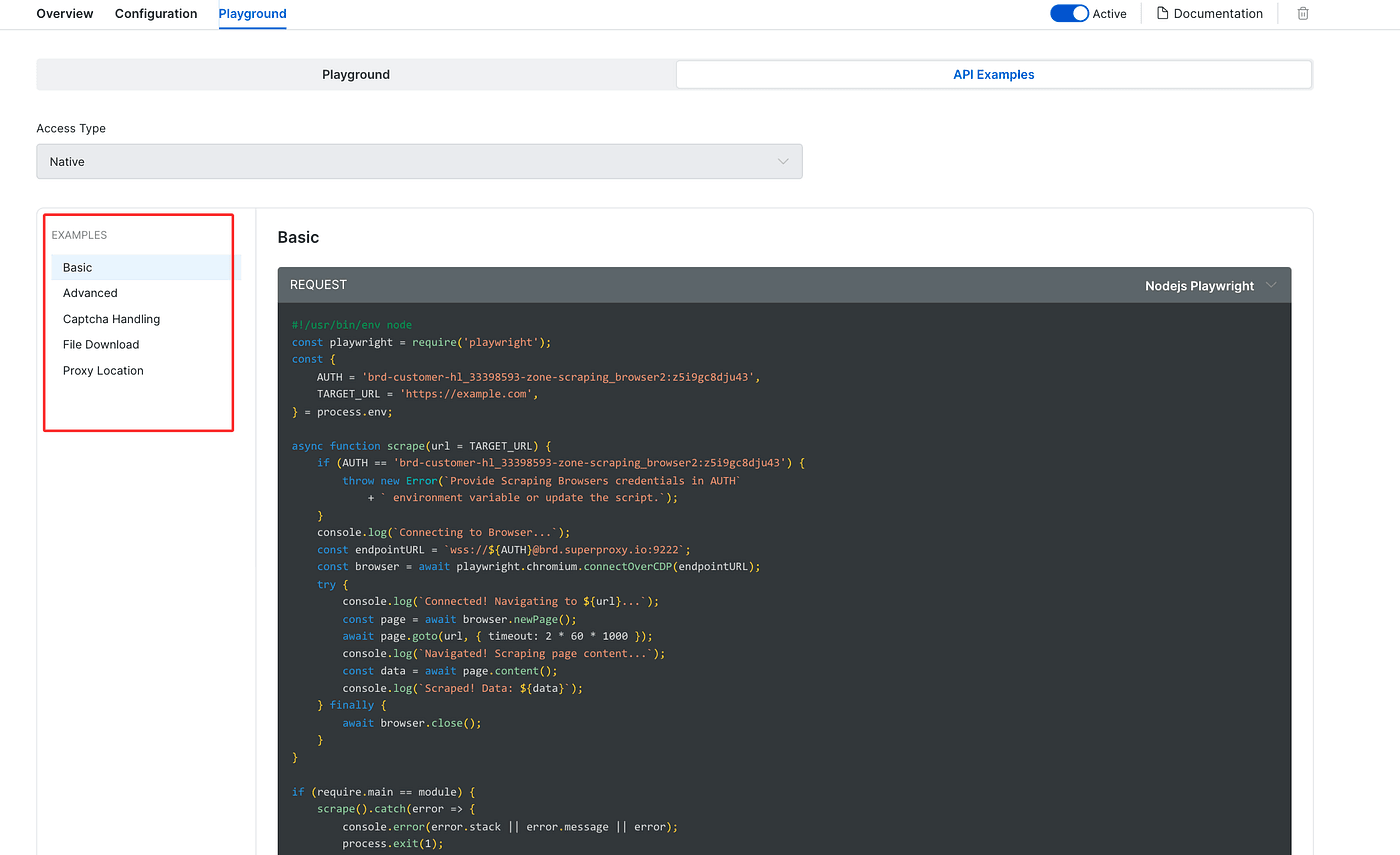
- API Examples contains six basic, copy-ready scenarios we can reuse.
In Playground, pick one of the travel or e-commerce scenarios and click Run Request on the right to execute and see the results in action — super handy for a quick demo.

For our real test, switch to API Examples and select the Captcha Handling example.
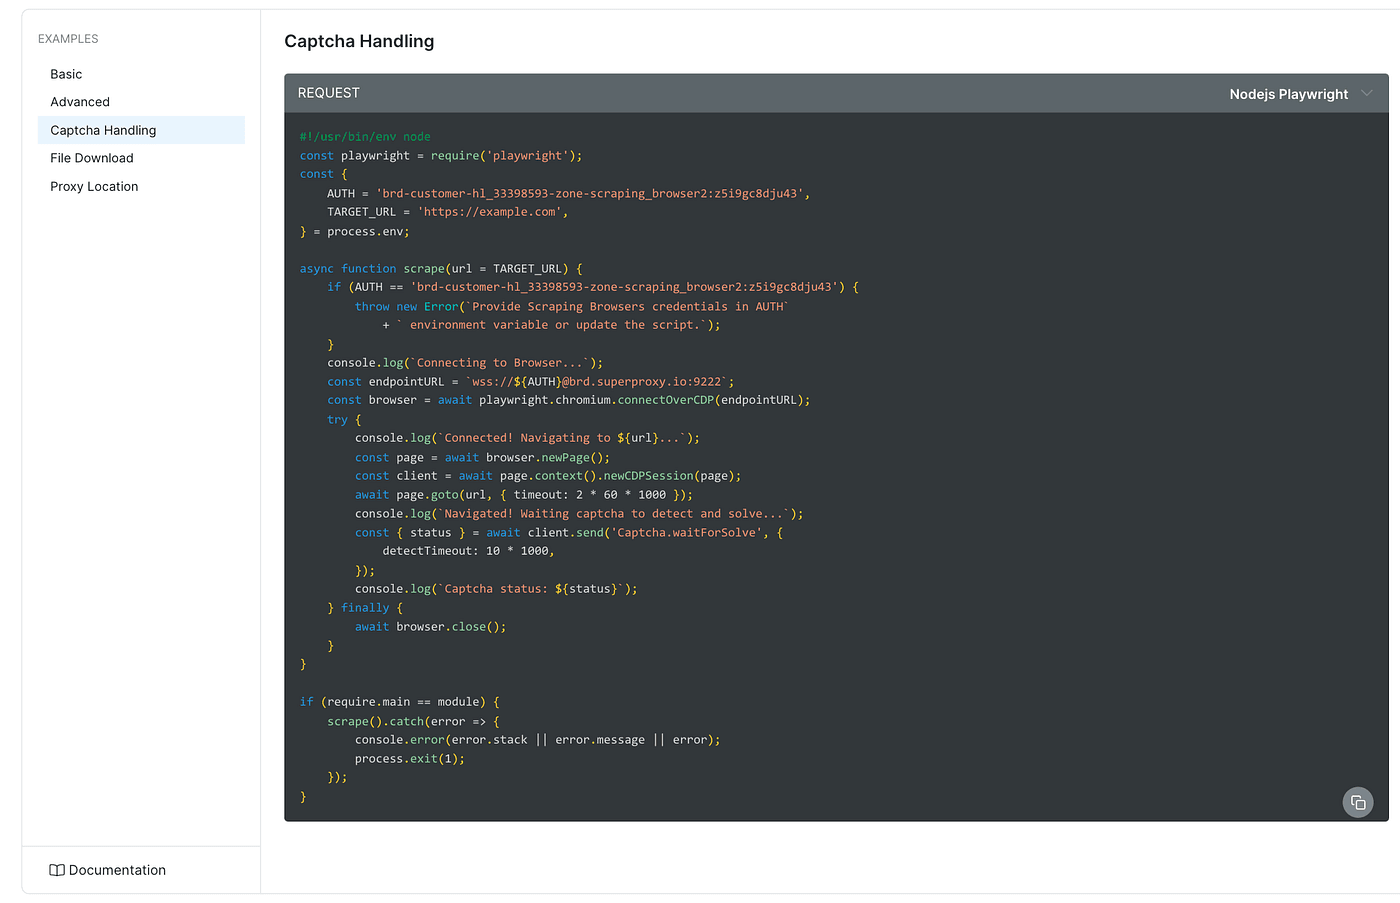
That’s the exact feature designed to handle verifications — the one we’ll use to bypass Cloudflare in this tutorial.
Python + Playwright test results
Alright — next step, let’s run the example code for real.
First, copy the example code from the Playground into your own coding environment. I’m using Python + Playwright, so up in the top-right I switch the language to Python / Playwright, then copy the snippet.
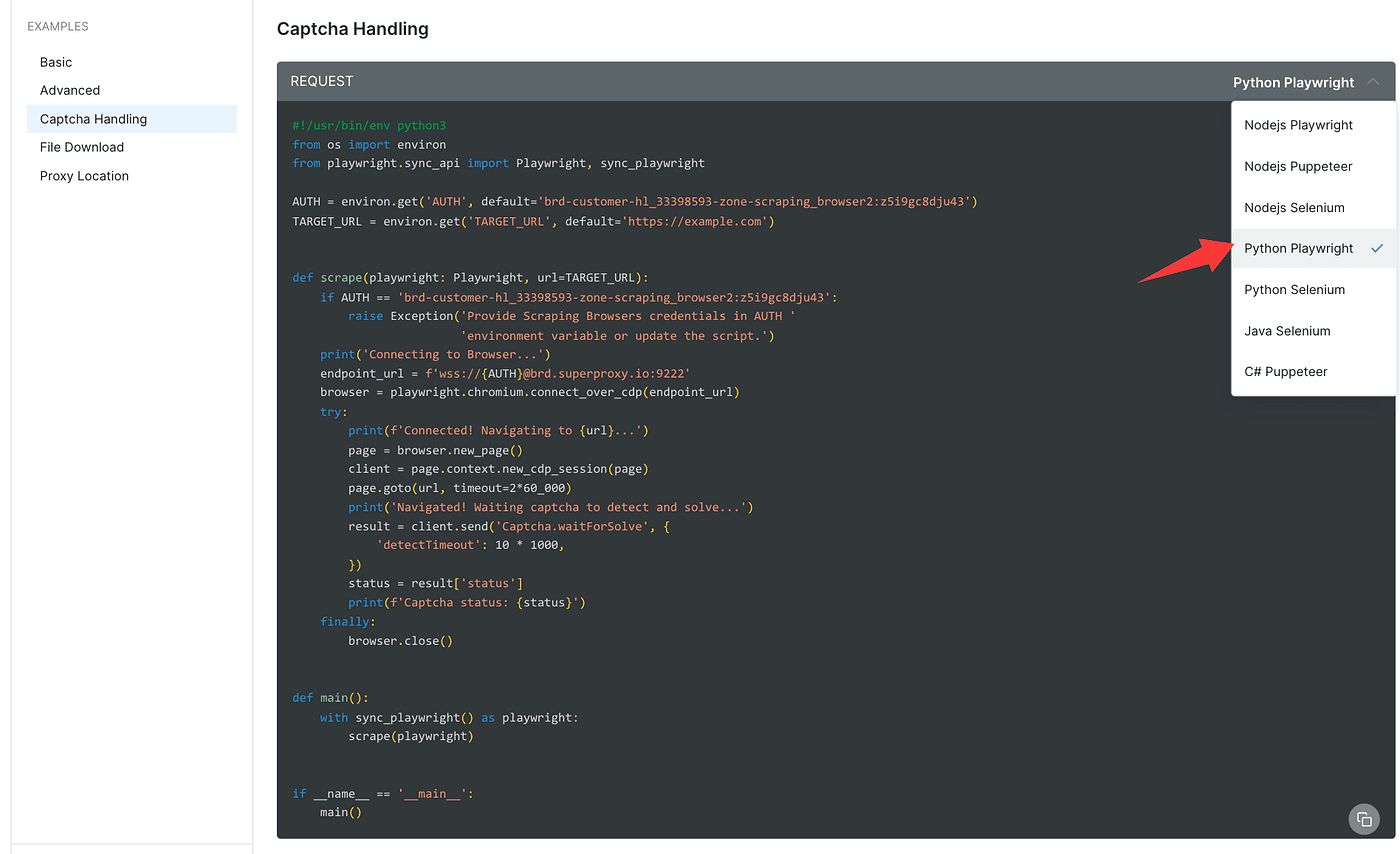
Paste that code into your editor or IDE exactly as-is.
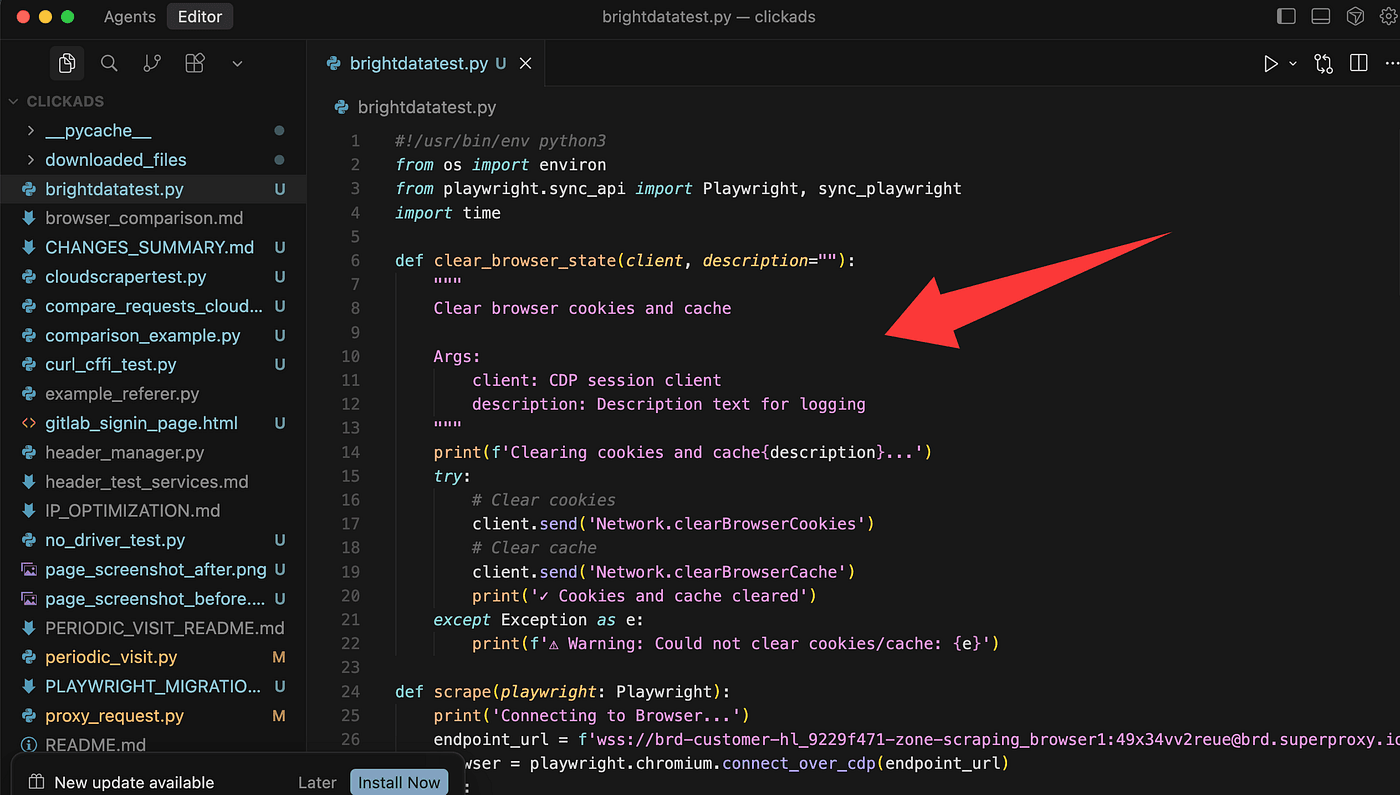
Important note: because this calls BrightData’s remote browser, you won’t see the browser window open locally — the browser runs on BrightData’s side.
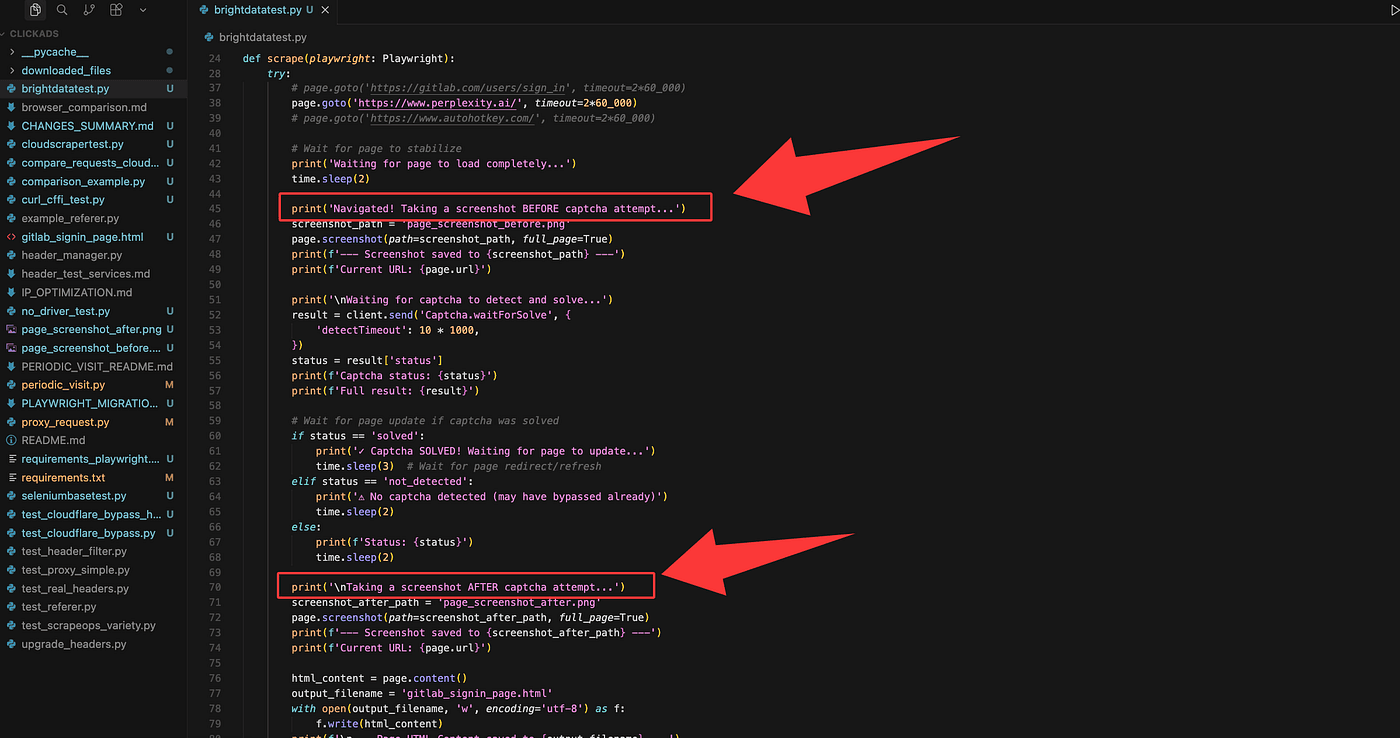
To verify the Cloudflare challenge was actually solved, I added two screenshots into the script: one captured before the CAPTCHA/verification is handled, and one captured after. That way the code will save both images and we can compare them to confirm whether the challenge was bypassed.
Now run the script from the command line. I started the Python program like this (your command may vary depending on your env):
python my_brightdata_test.pyI tested the three sites we mentioned earlier, one by one.
- The script saved a screenshot before the solve and another after.
- In the console, when I received the
solve_finishedresult, that meant BrightData finished handling the CAPTCHA and we’d successfully bypassed Cloudflare for that session. - Check the two saved screenshots — you’ll see the page state changed between before and after, confirming the solve.
2. Perplexity
- This one surprised me. While running, the command-line printed:
No captcha detected (may have bypassed already)
- The two screenshots (before and after) turned out to be identical.
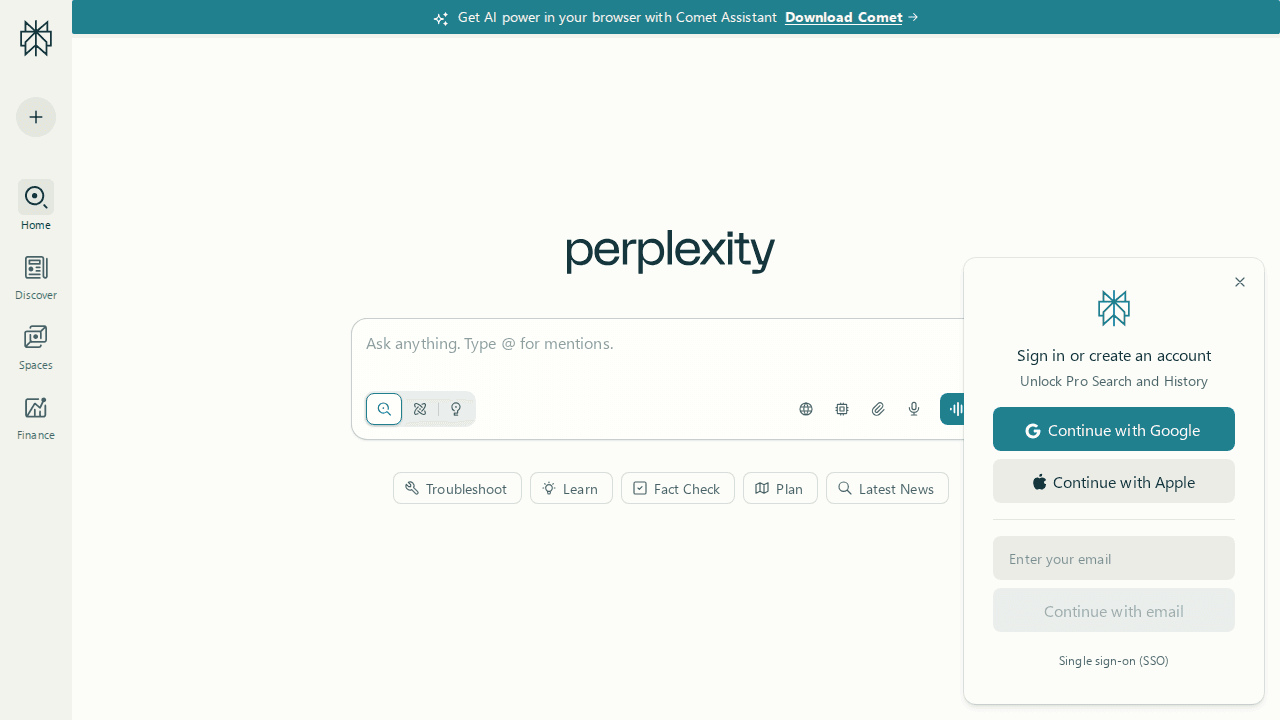
- That tells us BrightData’s remote browser apparently reached the page without ever triggering a CAPTCHA — effectively skipping Cloudflare’s verification entirely. Interesting.
3. AutoHotkey
The results here matched GitLab’s behavior:
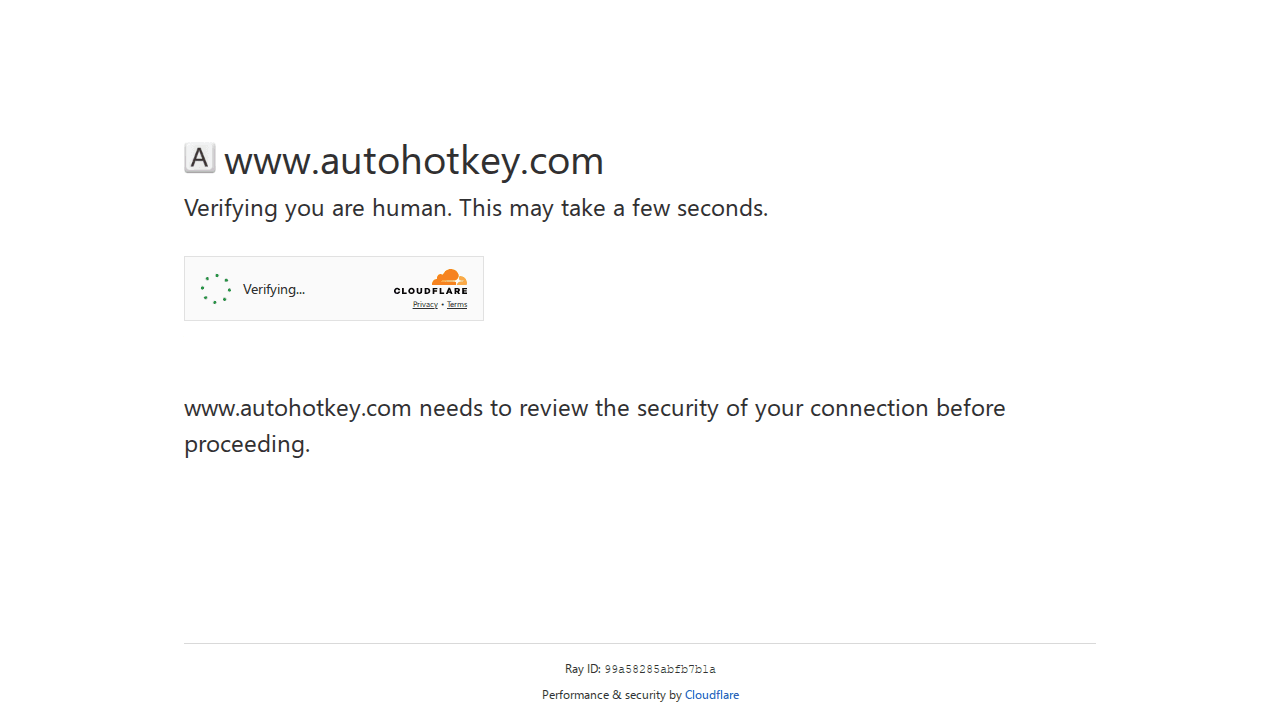
the before and after screenshots are different,
after
and the flow indicates the CAPTCHA was detected and then solved via BrightData’s service.
So — bottom line: using BrightData’s Browser API we were able to handle or bypass the Cloudflare challenges on all three test sites. If you want to reproduce this, follow the exact steps I showed: switch the Playground to Python/Playwright, copy the example, add before/after screenshots in the script, run the Python file from the CLI, and inspect the console messages (solve_finished or No captcha detected) plus the two screenshots to verify the outcome.
Final
So yeah — that’s how I finally beat Cloudflare’s bot wall. No complex hacks. No endless trial and error. Just the right setup with BrightData’s Browser API — simple, clean, and effective.
If you’re building automation or scraping workflows and keep hitting those “Verify you are human” pages, give this method a try. It might just save you hours of frustration.
I’m still testing this on more sites, so if you discover other interesting results, drop them in the comments — I’d love to hear how it works for you. Thanks for reading, and I’ll see you in the next one.