A step-by-step guide to applying one layout to every post — instantly and automatically.For the past few weeks, I’ve been optimizing my WordPress blog. My site runs on Astra + Spectra, which is a great combo — lightweight, flexible, and easy to customize.
But I kept hearing the same feedback from readers:
“Your articles are long, and the Table of Contents disappears when I scroll. I can’t see the structure unless I scroll all the way up again.”
They were right. My TOC sat at the very top of every post, just above the content.
This worked… at the beginning.
But once my posts reached 3000–5000 words, that TOC instantly became useless. Readers had no idea where they were inside the article flow.
So I started looking at excellent blogs online. The best ones all used a similar layout:
- A fixed TOC on the left side
- Content on the right
- When you scroll, the TOC stays in place
Exactly like this:

That’s the layout I wanted.
My First Attempt: Manually Editing Each Post (Bad Idea)
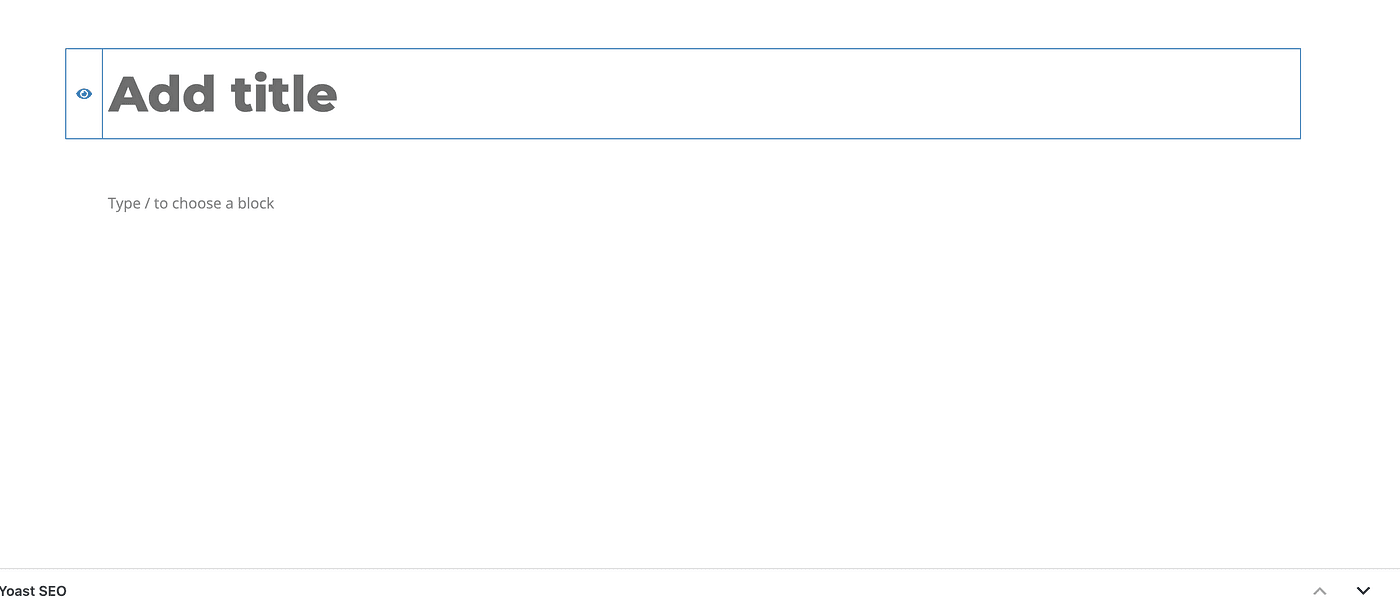
At first, I tried doing this manually.
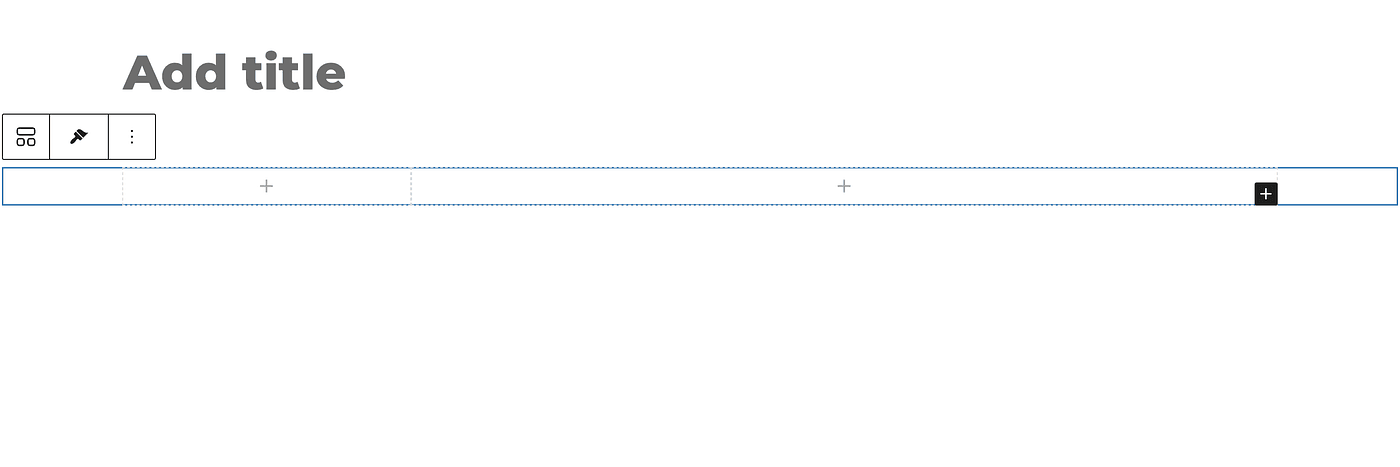
I opened a post → added a Container
→ split it into two columns
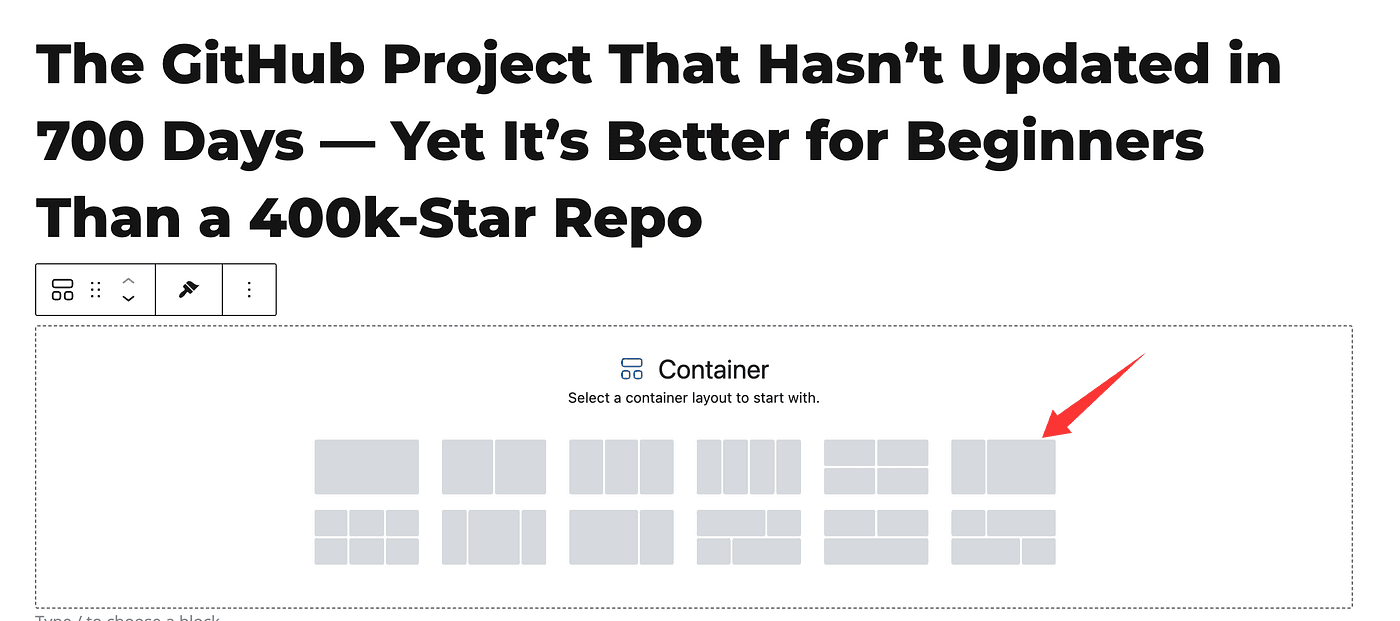
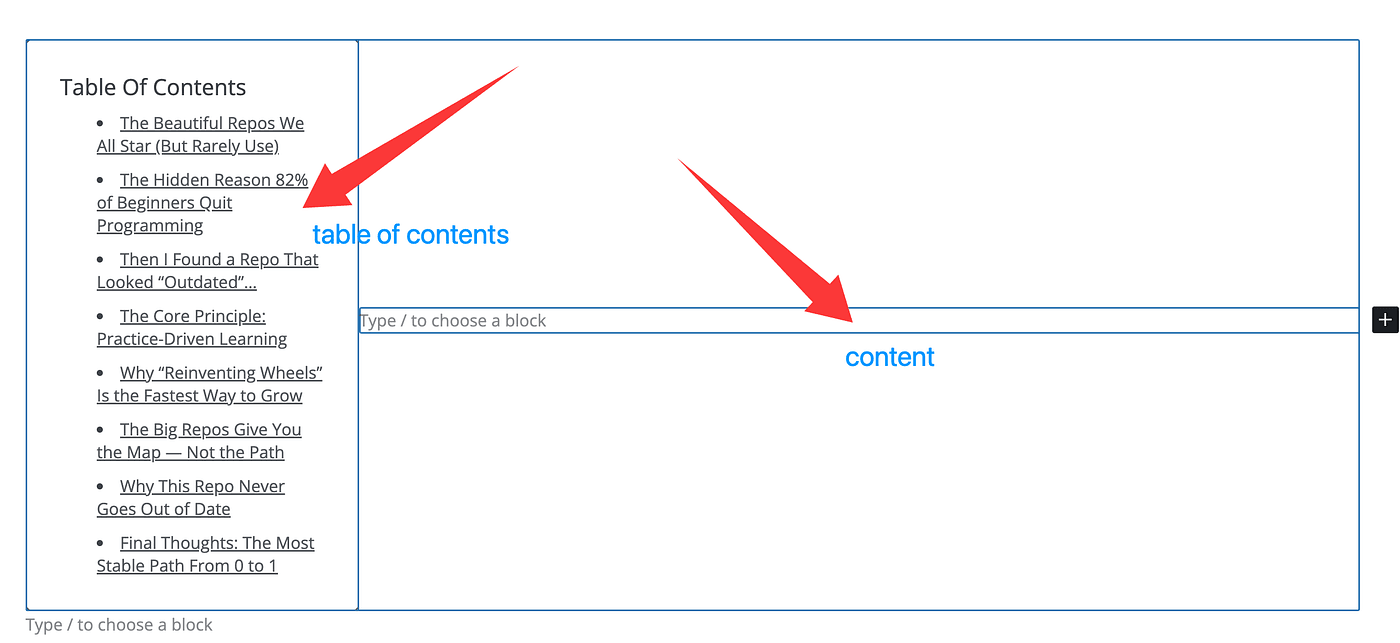
→ put TOC on the left → content on the right.
It worked…
But I have 40+ published posts.
Even if each one takes only 2 minutes to update…
2 minutes × 40 posts = 80 minutes
And if I ever want to add another global change… another 80 minutes?
No thanks.
There had to be a better way.
The Real Solution: Use Astro’s Site Builder to Create a Post Template
Thankfully, because my site uses Astra’s Site Builder (Astro), I found a much better system:
Create a Post Template and apply it to ALL posts with one click.
Here’s exactly how I did it.
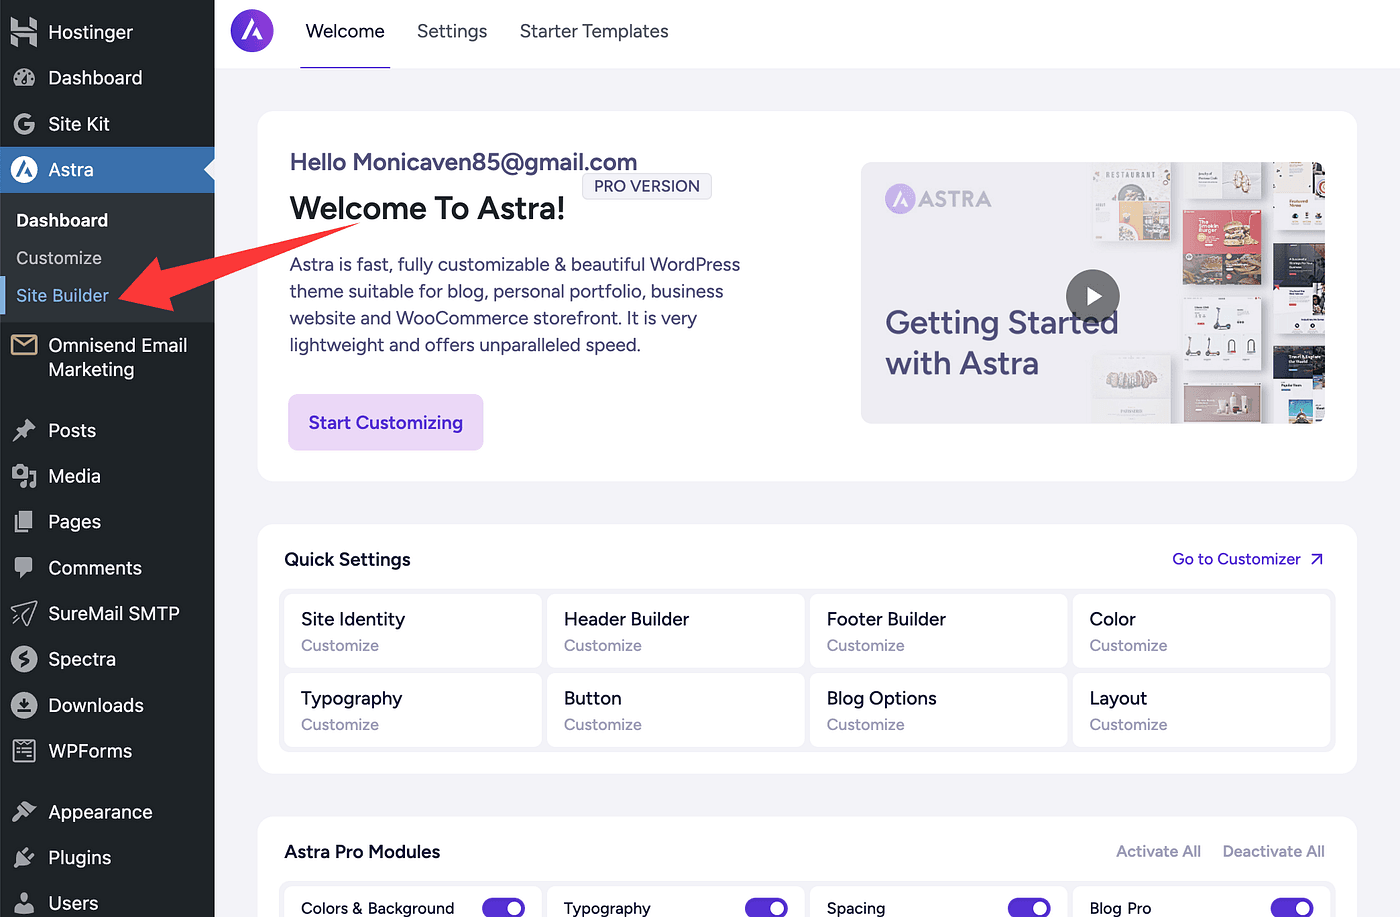
Step 1 — Open Astro’s Site Builder
Open the Site Builder panel inside Astra:

Inside, you’ll see several template types:
- Header
- Footer
- Hooks
- Single (post template)
Since we’re customizing individual blog posts, choose Single, then click Create New.
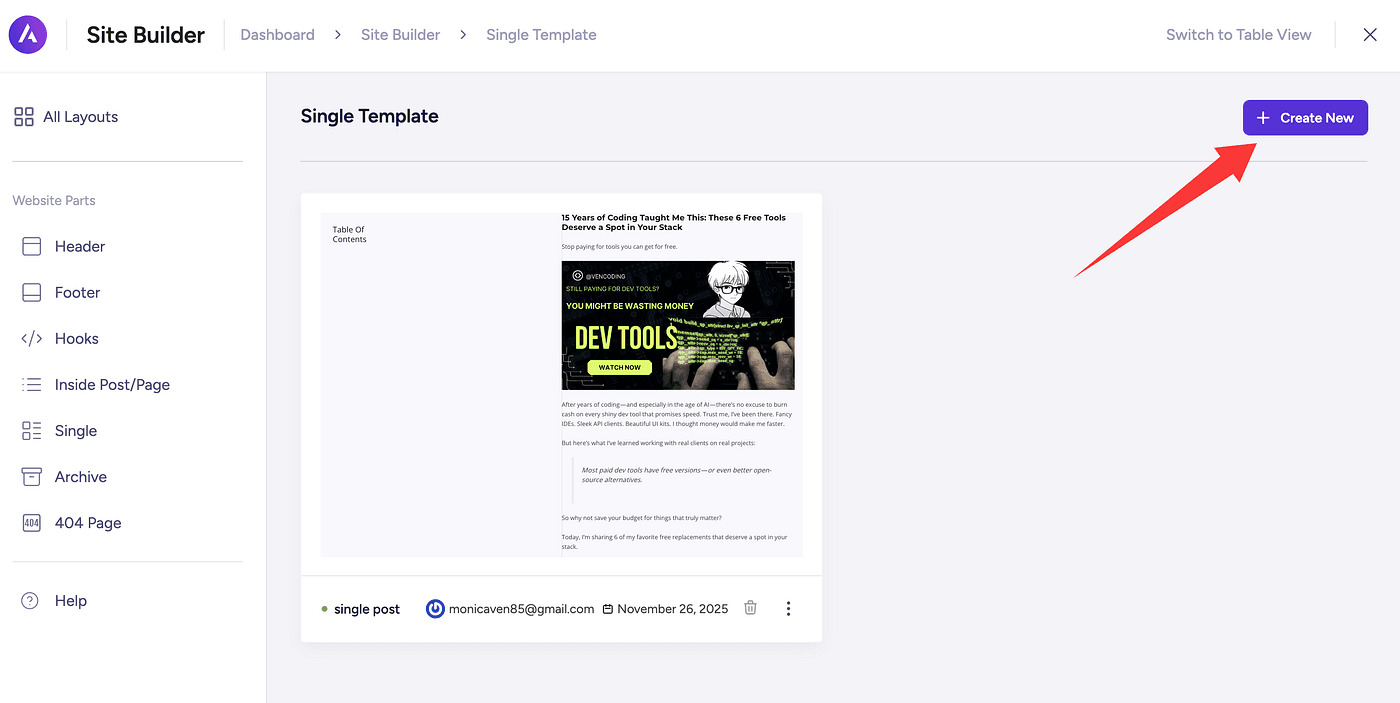
You’ll now see a completely blank template screen:
Perfect. Time to design our layout.
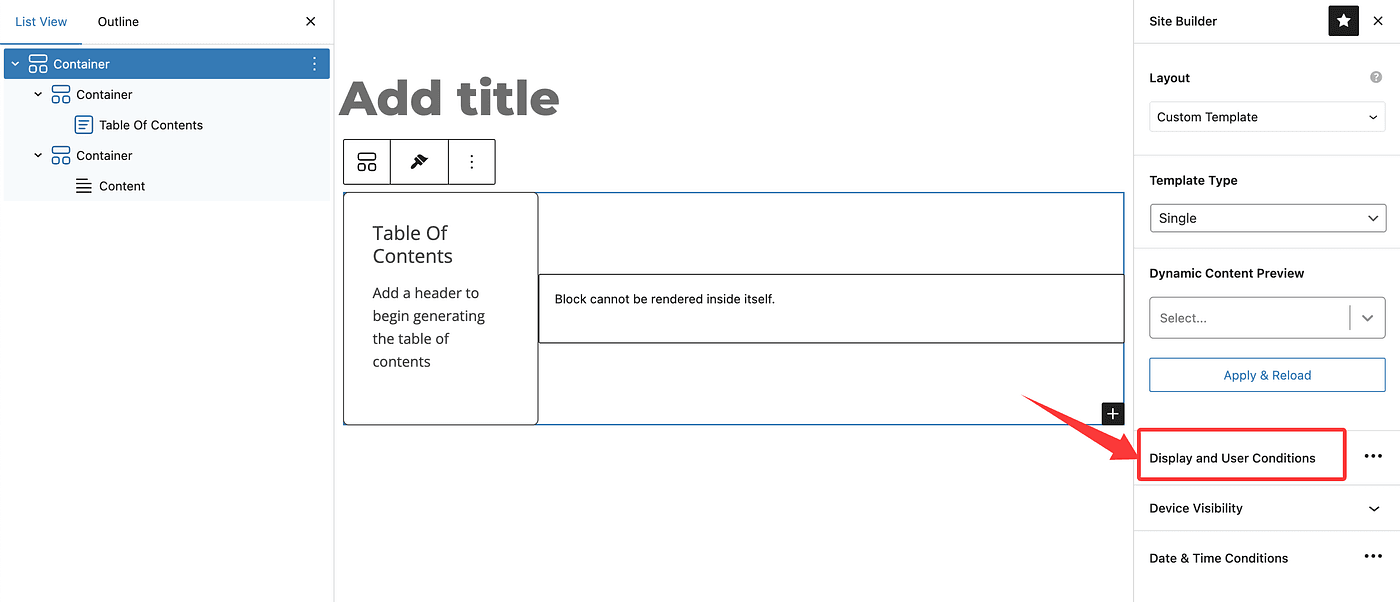
Step 2 — Build Your Two-Column Layout
Just like we tested earlier, we add a Container, choose the two-column layout, and reserve:
- Left column = narrow (for TOC)
- Right column = wide (for blog content)

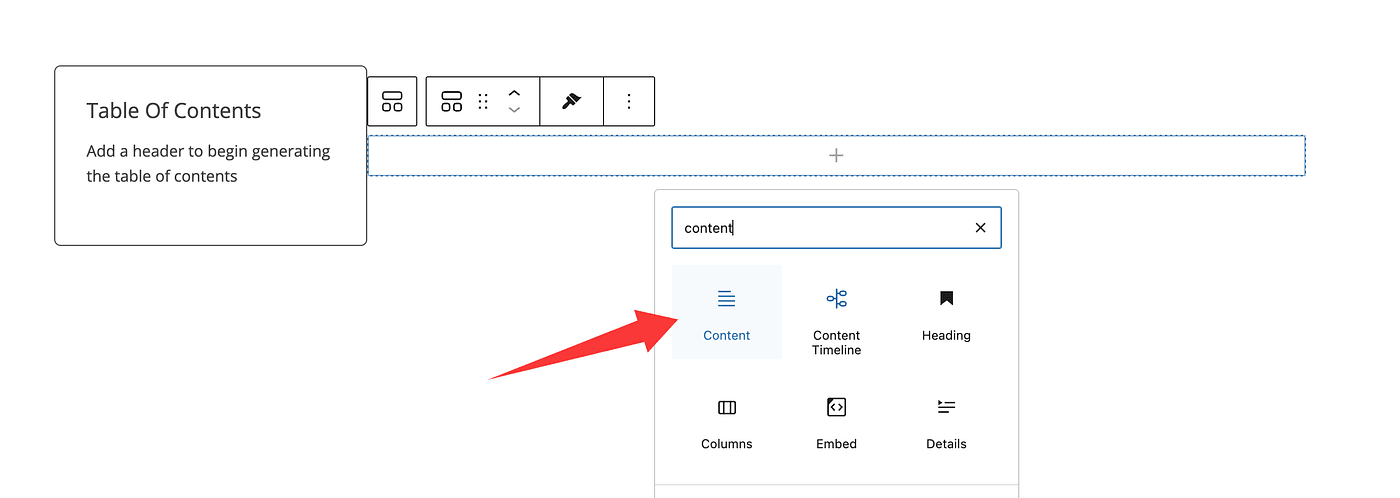
Then place:
- Table of Contents block on the left
- Post Content block on the right

Now the template is starting to take shape.
Step 3 — Confirm the Structure in the Page Outline
Click the outline/navigation icon on the top-left.
You should see:
- A parent Container
- Two child Containers
- TOC inside the left
- Content inside the right
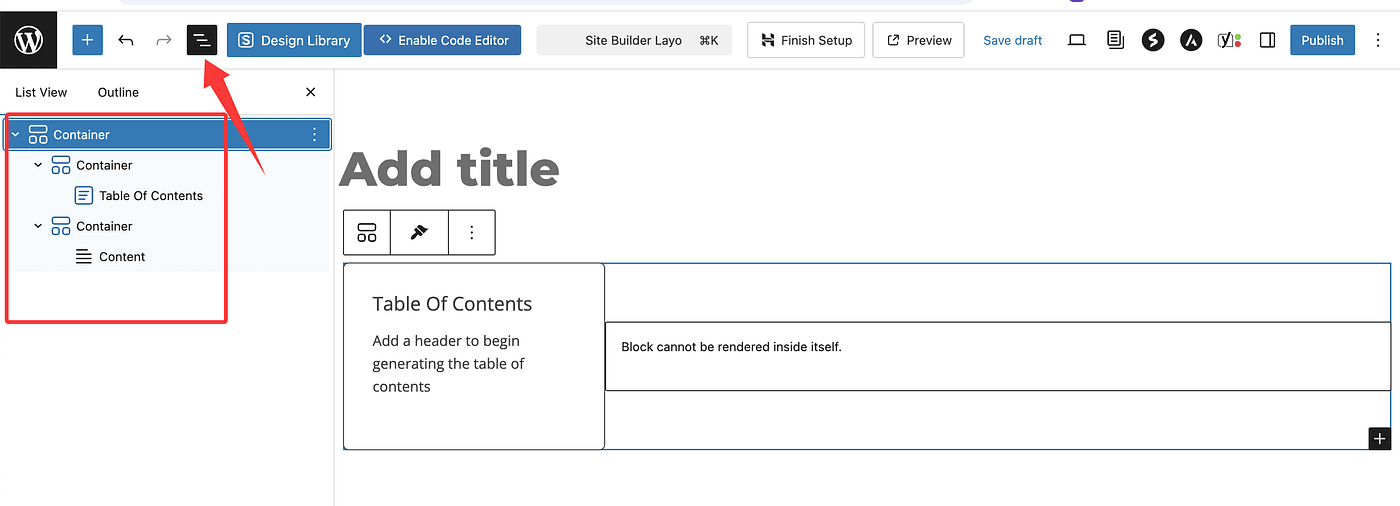
This means your layout is correctly structured.
Step 4 — Apply Template to All Blog Posts
Next, open the template settings:

Click Display and User Conditions:
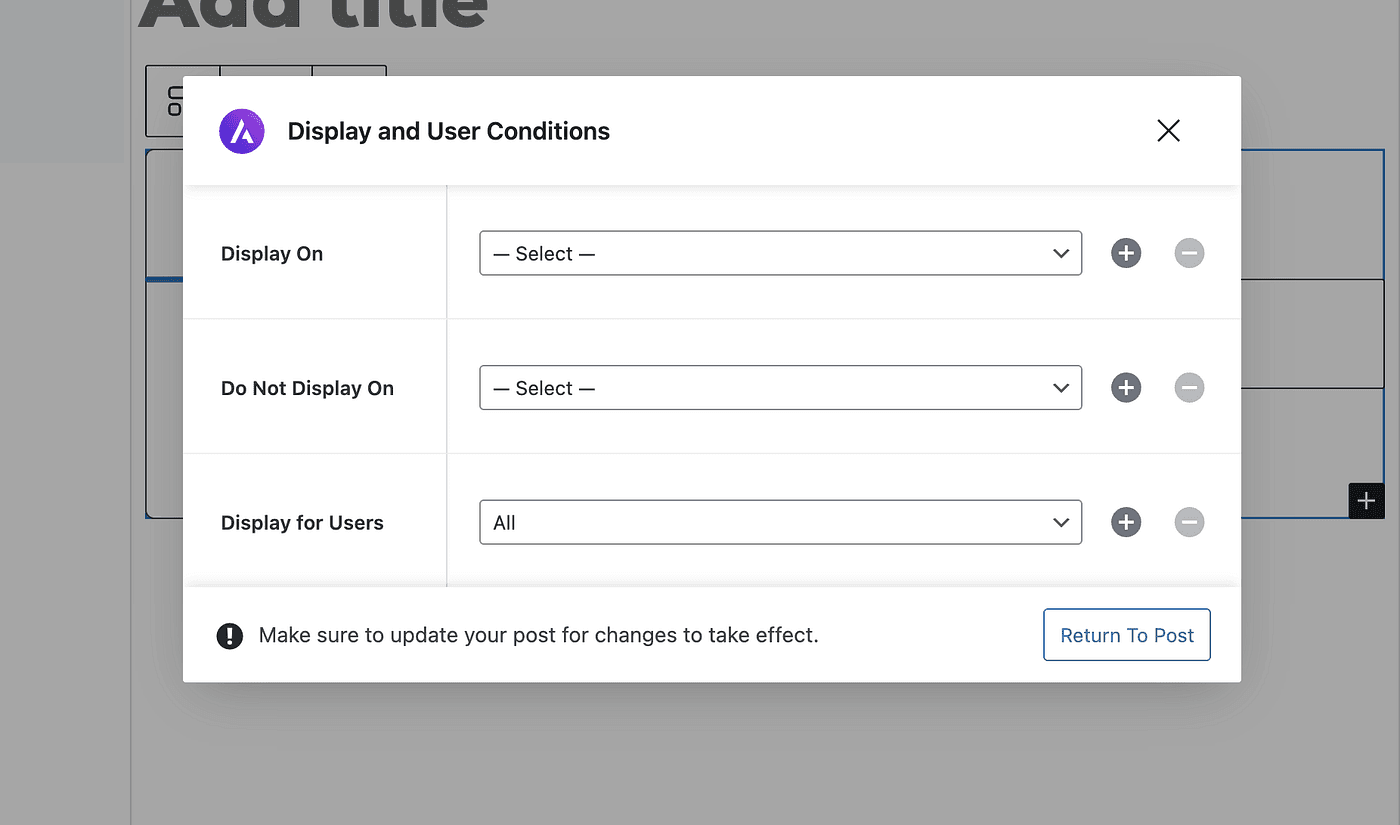
Set Display On → All Posts.

This tells WordPress:
“Use this template for every blog post on my site.”
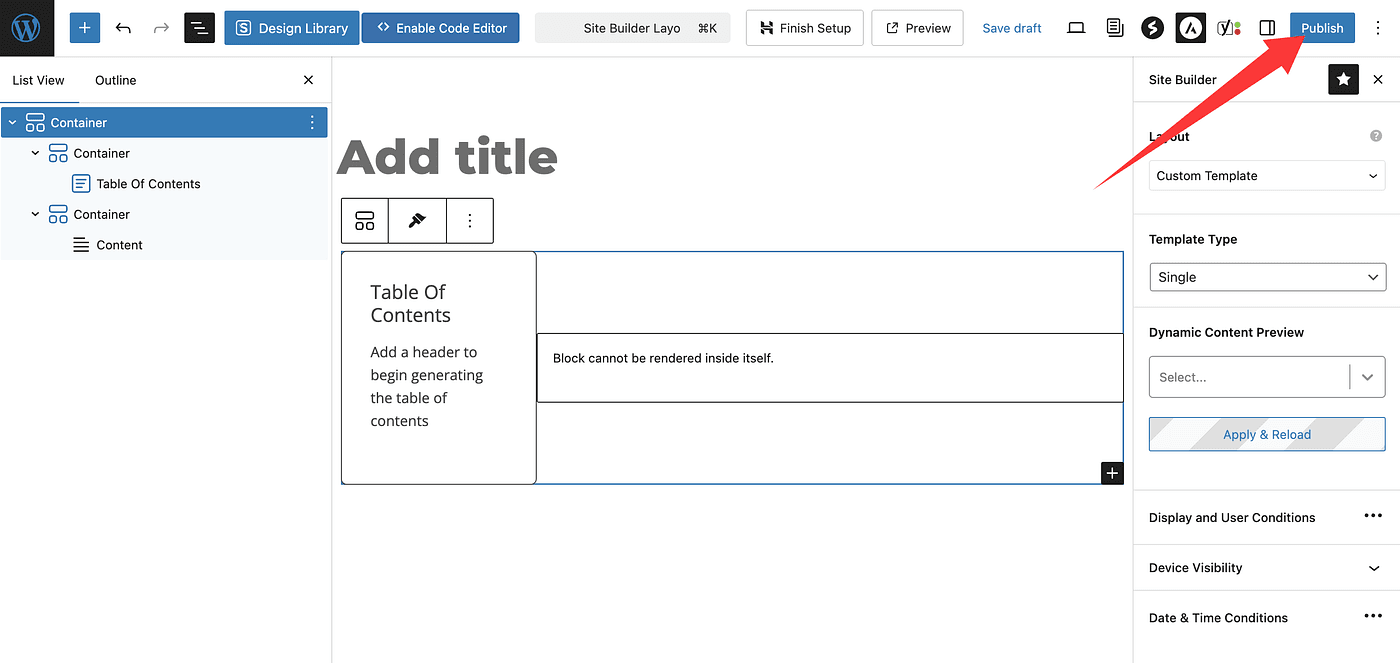
Click Publish to apply it.
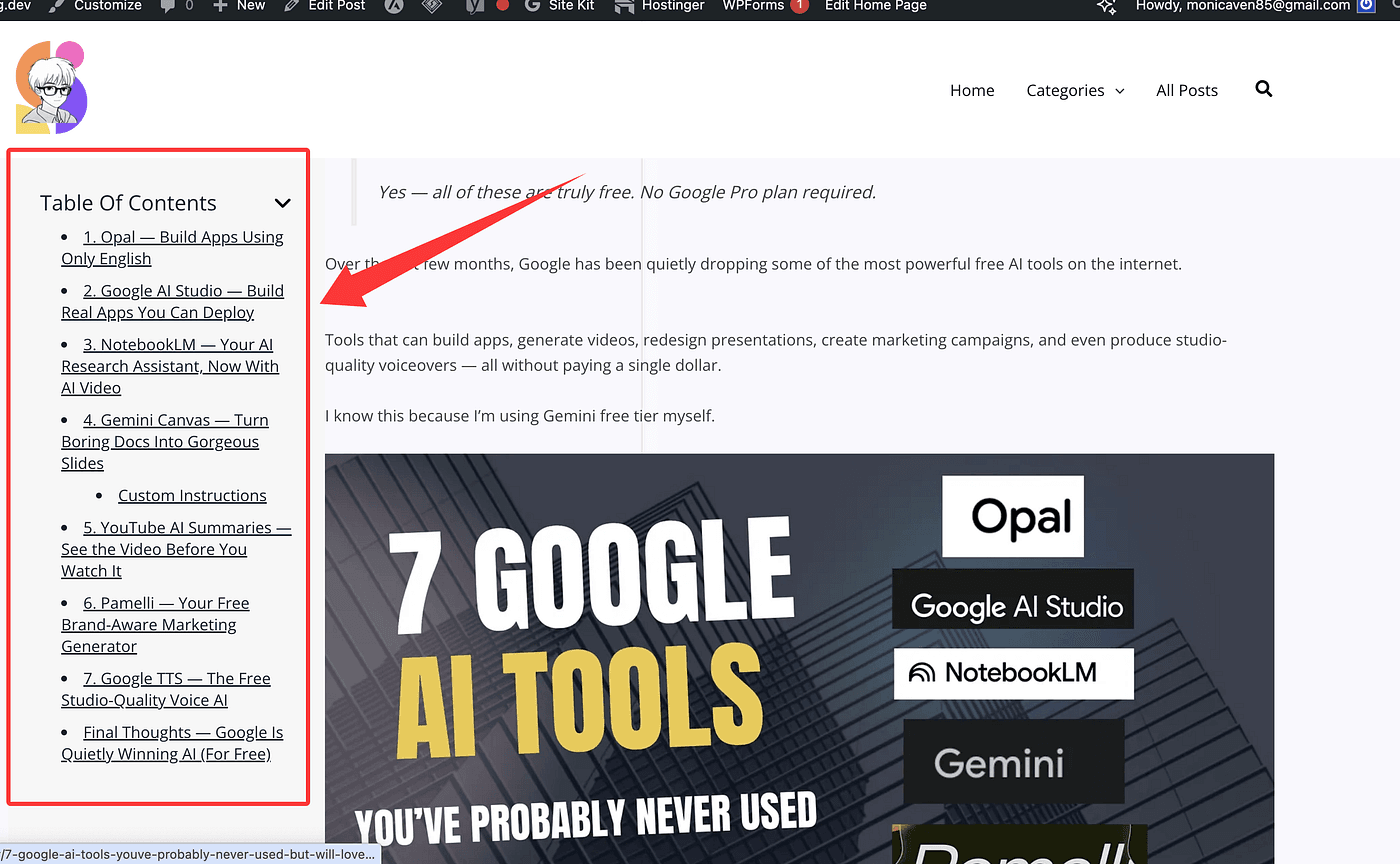
Step 5 — Check a Post to Confirm Everything Works
Open any one of your existing posts.
You should now see:
- TOC fixed on the left
- Content on the right
- TOC always visible while scrolling
- Readers can jump to any section instantly
And the best part?
I updated 40+ posts instantly, without touching any of them manually.
Final Thoughts
Creating this template ended up doing more than just saving me time — it reminded me why I started blogging in the first place. I want people to actually enjoy reading what I write, not fight the layout, hunt for the TOC, or scroll endlessly just to find where they are.
If you’re using WordPress with Astra + Spectra, please don’t torture yourself by editing post after post like I almost did. There’s a much easier way.
Build the layout once.
Apply it everywhere.
Let your blog take care of itself — so you can focus on the part that actually matters: writing things people want to read.