Recently, I used Google Antigravity to build a small project called Pet Gallery.
What surprised me most was that all the images were also generated directly by Antigravity.
In this article, I want to walk you through:
- how I used Antigravity in a real project
- what makes it different from other AI coding tools
- and why I think it’s worth paying attention to
This is not a promotional post.
It’s simply my honest, hands-on experience.

The AI Wave Didn’t Start Yesterday
Since ChatGPT emerged in 2022, it became clear that we had entered a new wave of artificial intelligence.
Large Language Models (LLMs) appeared almost overnight.
Text-to-image, text-to-video, image-to-video — new models kept arriving one after another.
During this time, many people felt that Google, once the undisputed giant, seemed strangely quiet. Some even speculated that Google might slowly fade into history.
Personally, I never believed that.
From my perspective, if Google truly decides to do something, it’s rarely a matter of money.
It’s about the sheer number of top-tier engineers, researchers, and scientists inside the company.
And eventually, Google proved that point again.
With the release of Gemini 3 Pro, Nano Banana, and Veo 3, Google once more showed its most mature side.
It may arrive late — but it rarely misses the stage.
I wrote about one of Google’s tools before, a product that could potentially replace Canva in the future:
Google Just Launched a Free AI Tool That Might Replace Canva
Here’s My Full Test vencoding.medium.com
Today, I want to introduce another Google tool.
What Is Antigravity?
Antigravity is Google’s AI-powered coding tool.
If you’ve used VS Code, Cursor, or Claude Code, Antigravity will feel familiar.
Before Antigravity, Google had already released a Gemini CLI coding tool.
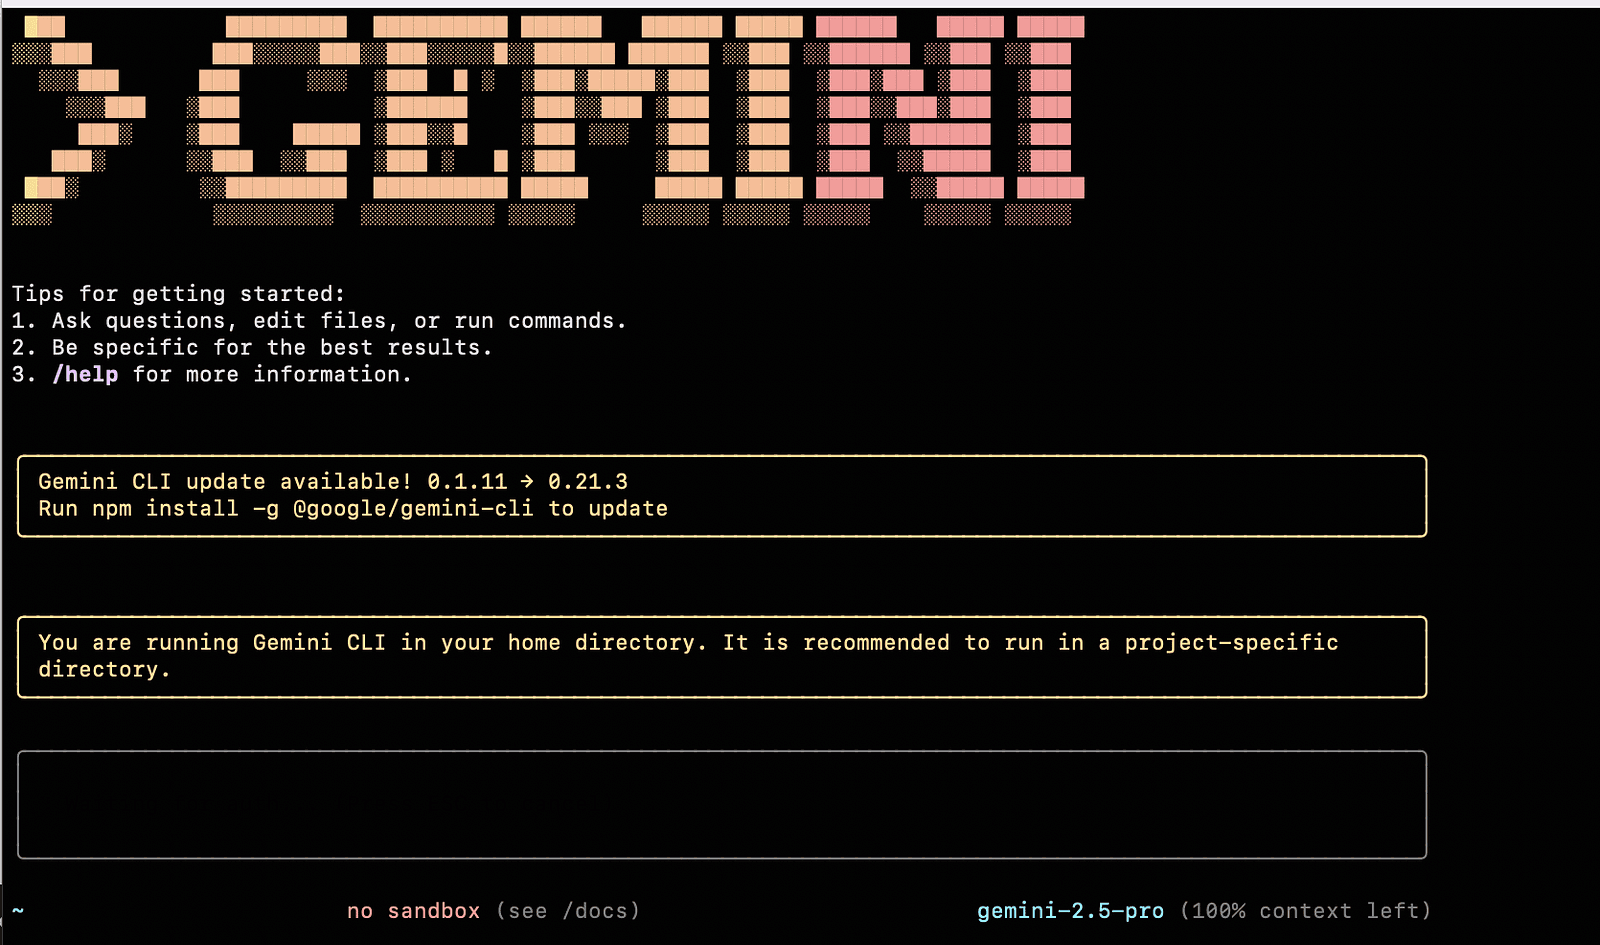
At that time, it was still Gemini 2.5 Pro. Even back then, I was convinced that Google would eventually release something comparable to Cursor.
When Cursor later switched its pricing model from usage-based to token-based billing, I personally hoped even more that Google would enter this space.
And yes — I admit there was some personal bias here.
Google’s tools are often free, or at least come with very generous free quotas.
I’ve been heavily using Nano Banana and Veo 3, largely thanks to Google’s $300 free credits, which allowed me to test extensively.
By comparison, tools like Claude Code and Codex are powerful, but also undeniably expensive.
So when Antigravity appeared, I installed it almost immediately.
Pricing: The First Thing I Checked
Naturally, the first thing I looked at was pricing.
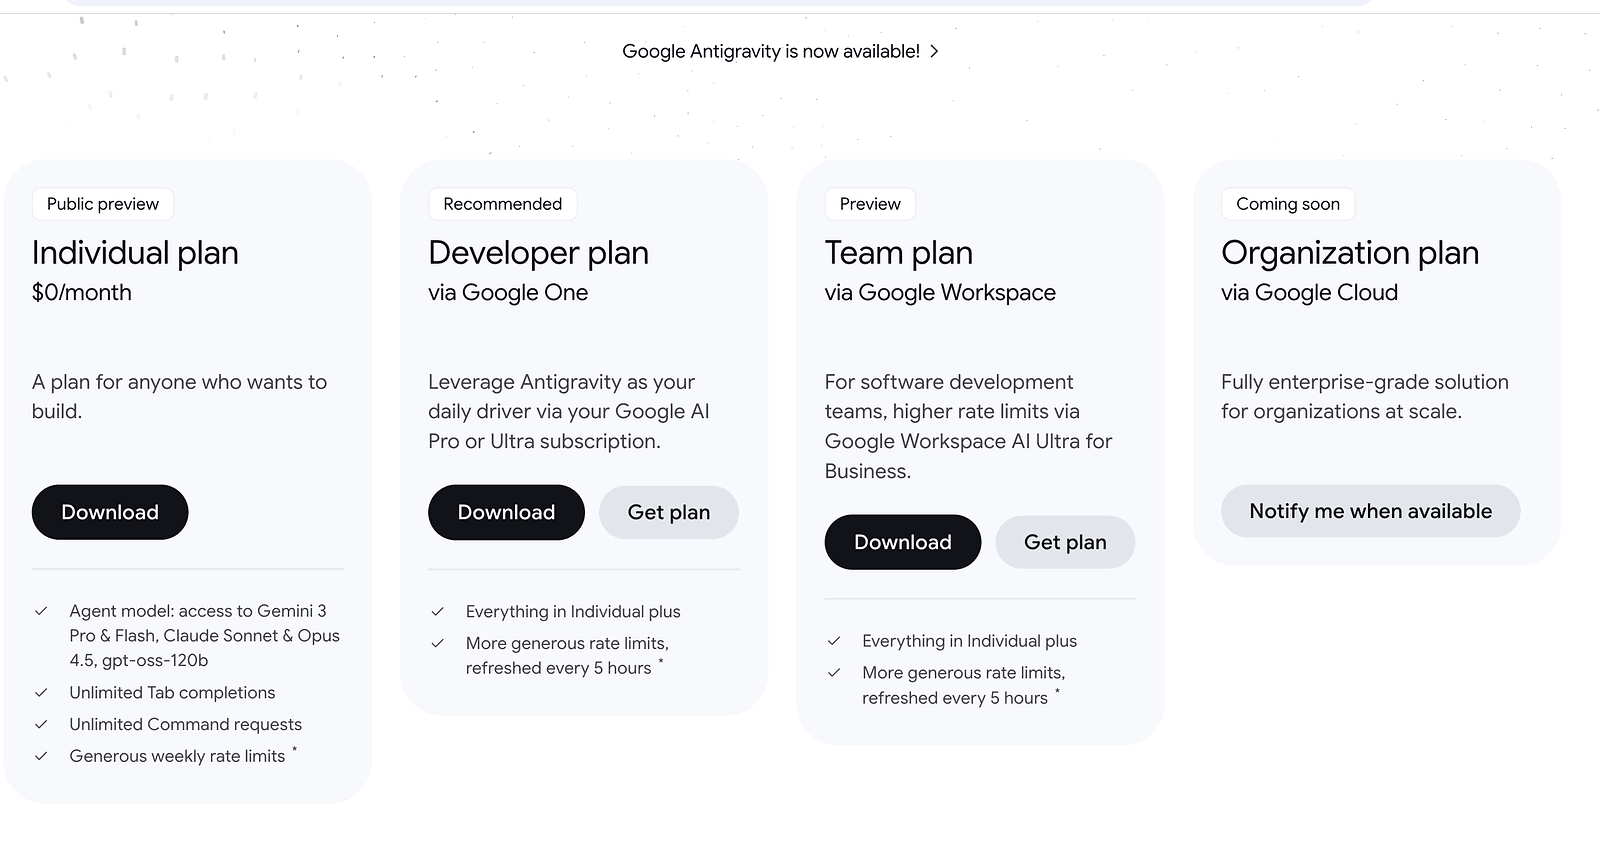
During actual development, I found that the Personal Plan is already more than enough.
- Unlimited usage
- Only a weekly quota limit
- Effectively free for most personal projects
Up to now, I’m still using the personal plan.
Maybe I’ll upgrade in the future — who knows.
Next, I checked which models Antigravity supports:
Google Antigravity
Google Antigravity – Build the new wayantigravity.google
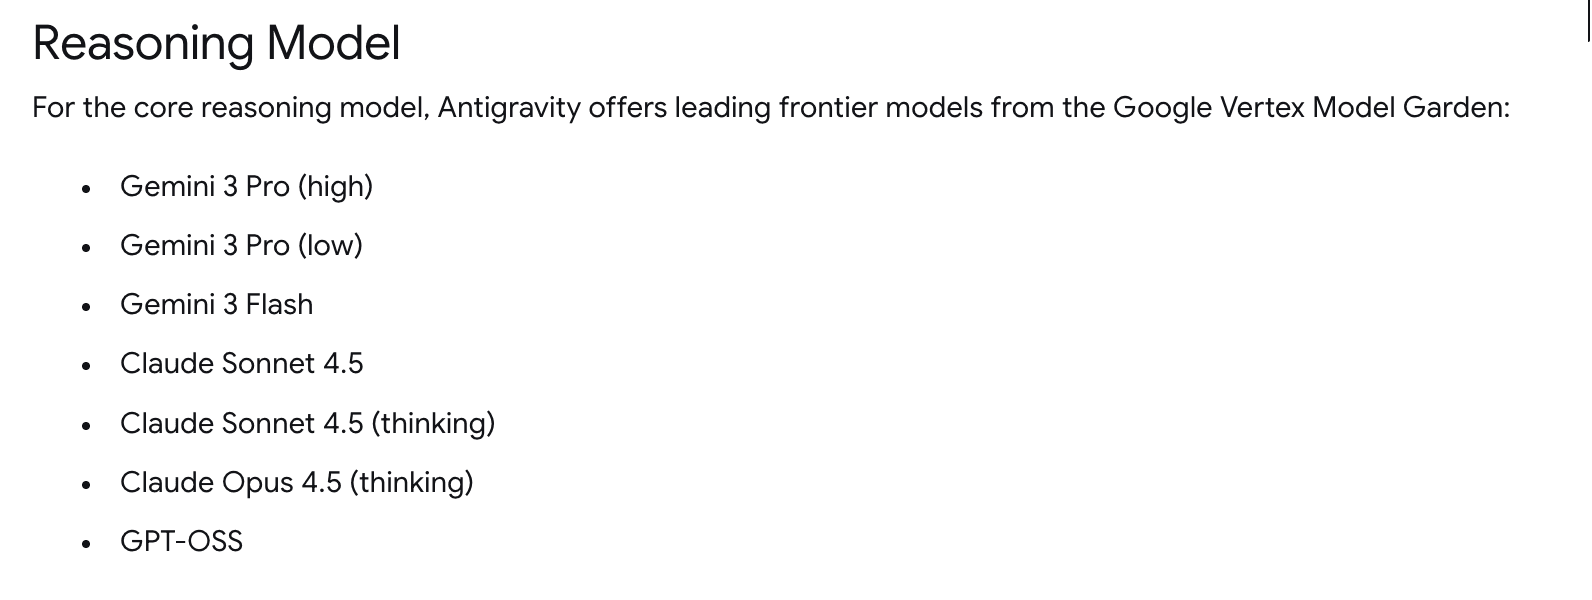
One pleasant surprise:
Antigravity integrates Claude Opus 4.5.
That means you can use it for free, which honestly feels like saving another subscription fee.
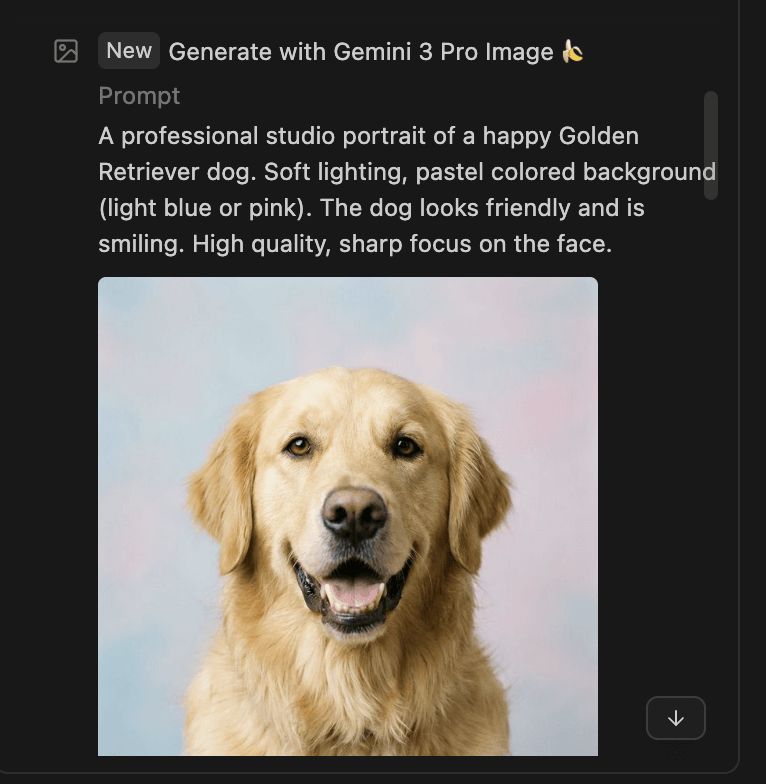
In addition to that, Google also integrates its own models, including Nano Banana.
When generating UI components, placeholder images, architecture diagrams, or other visual assets, Antigravity automatically uses its image generation tools.
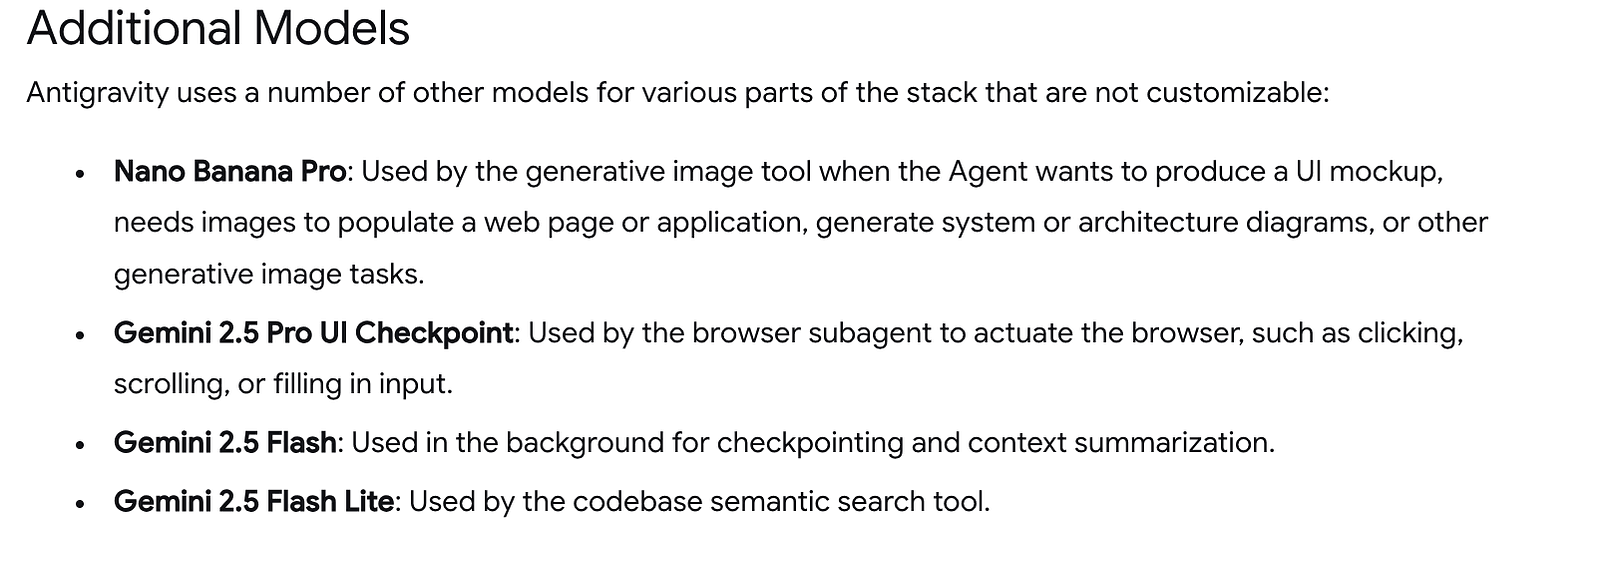
Anyone who has used Nano Banana knows how strong it is at image generation and editing.
Having it built directly into the coding workflow gives Antigravity a natural advantage.
The official documentation also lists many other productivity-focused features:
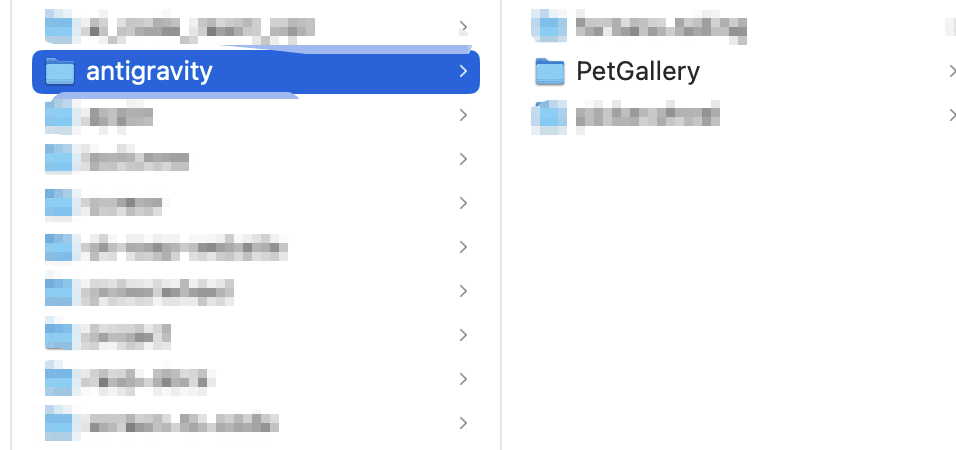
I started by creating a local directory to store all the generated code and assets.
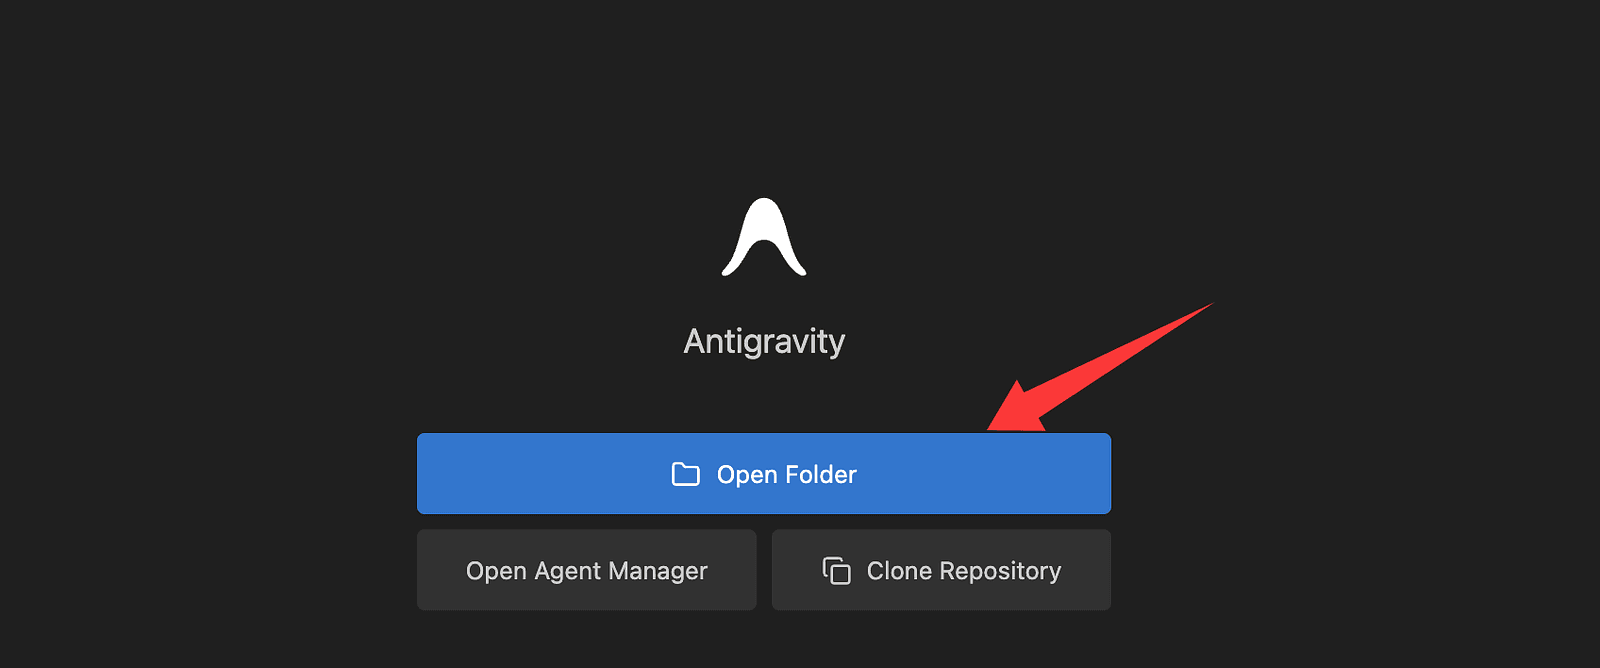
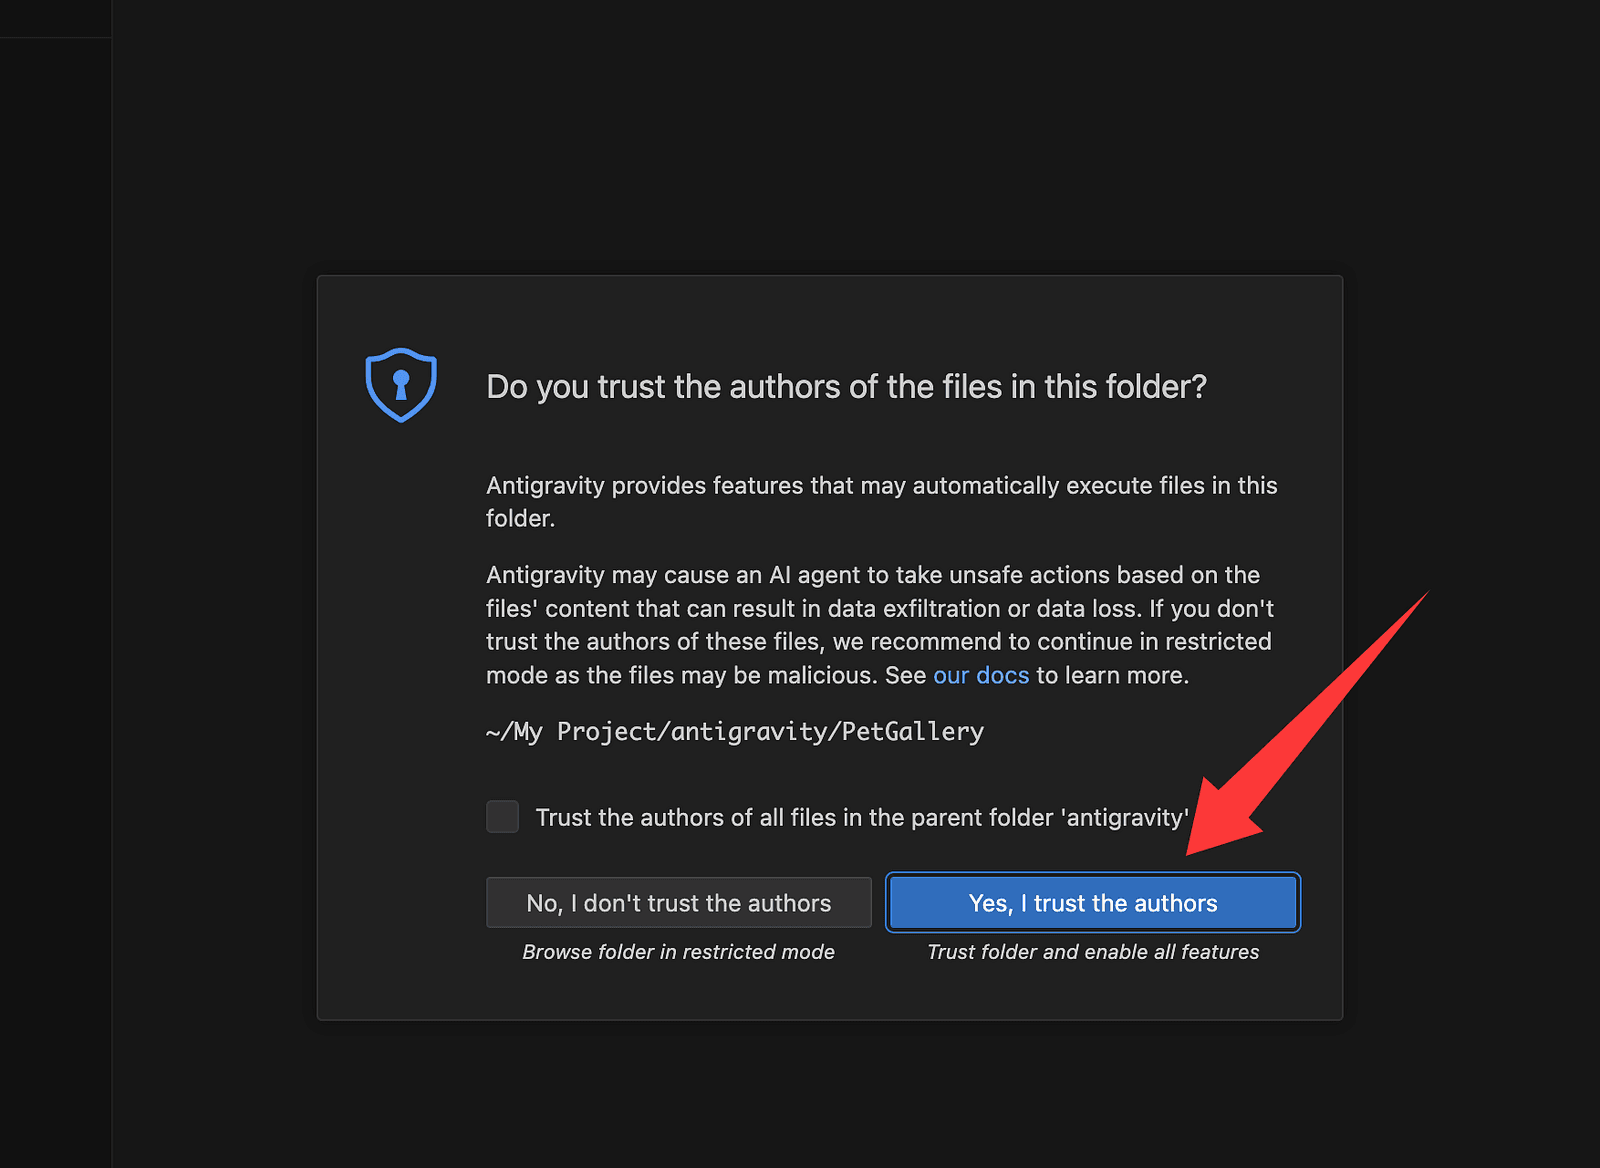
I created a folder named PetGallery, then opened it via Open Folder.
Antigravity prompted a security warning — I clicked Trust.
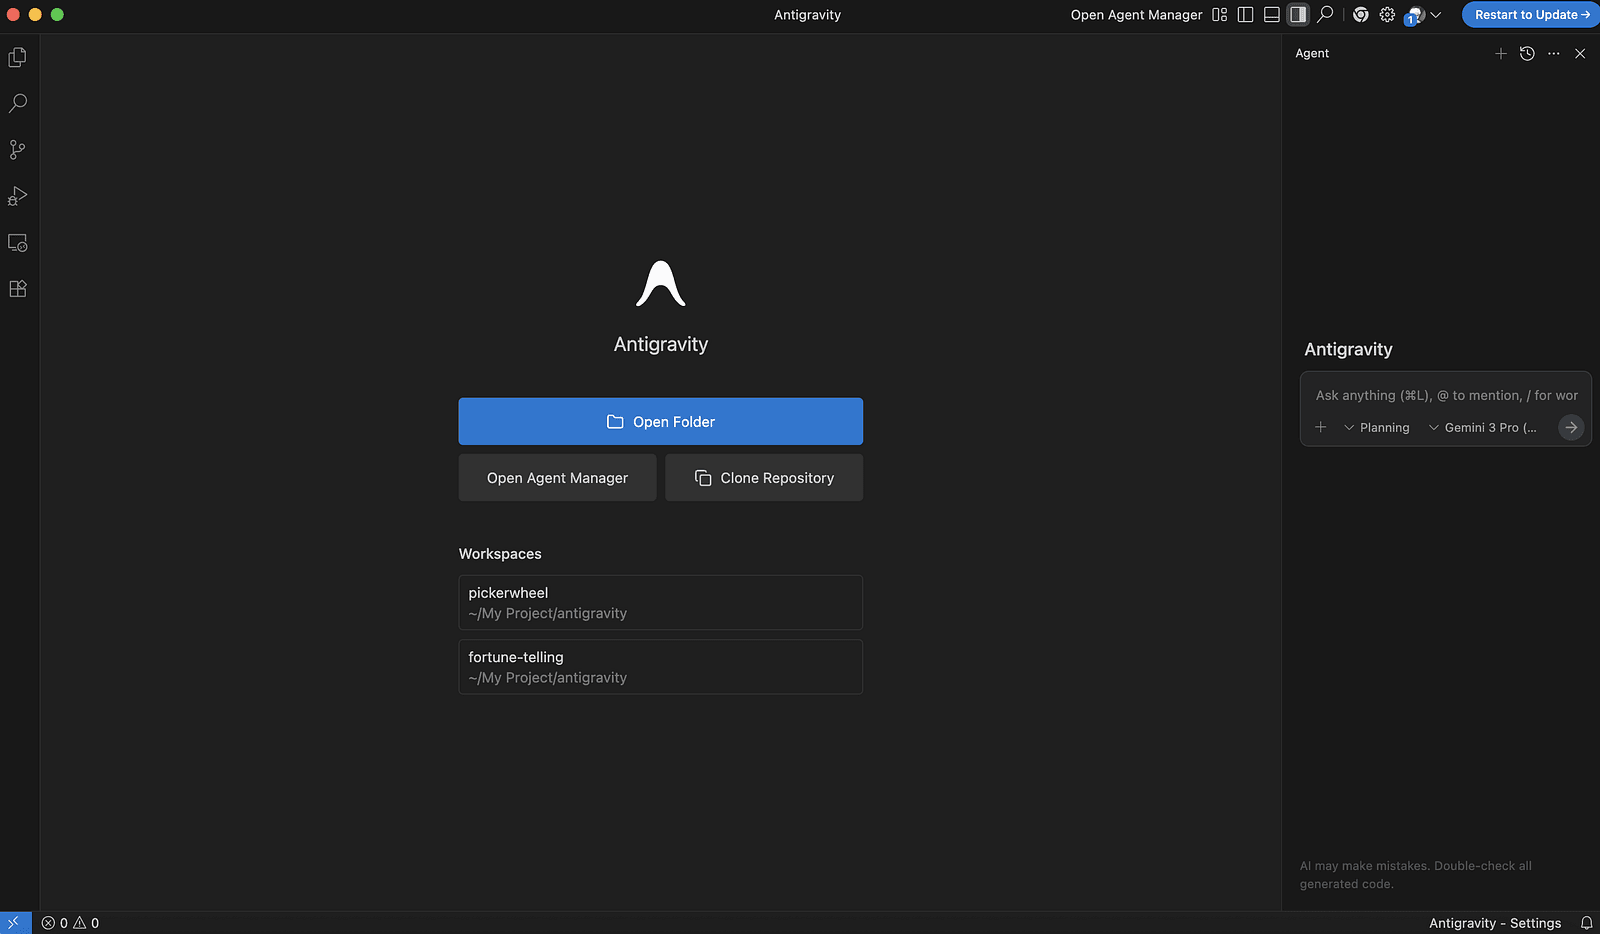
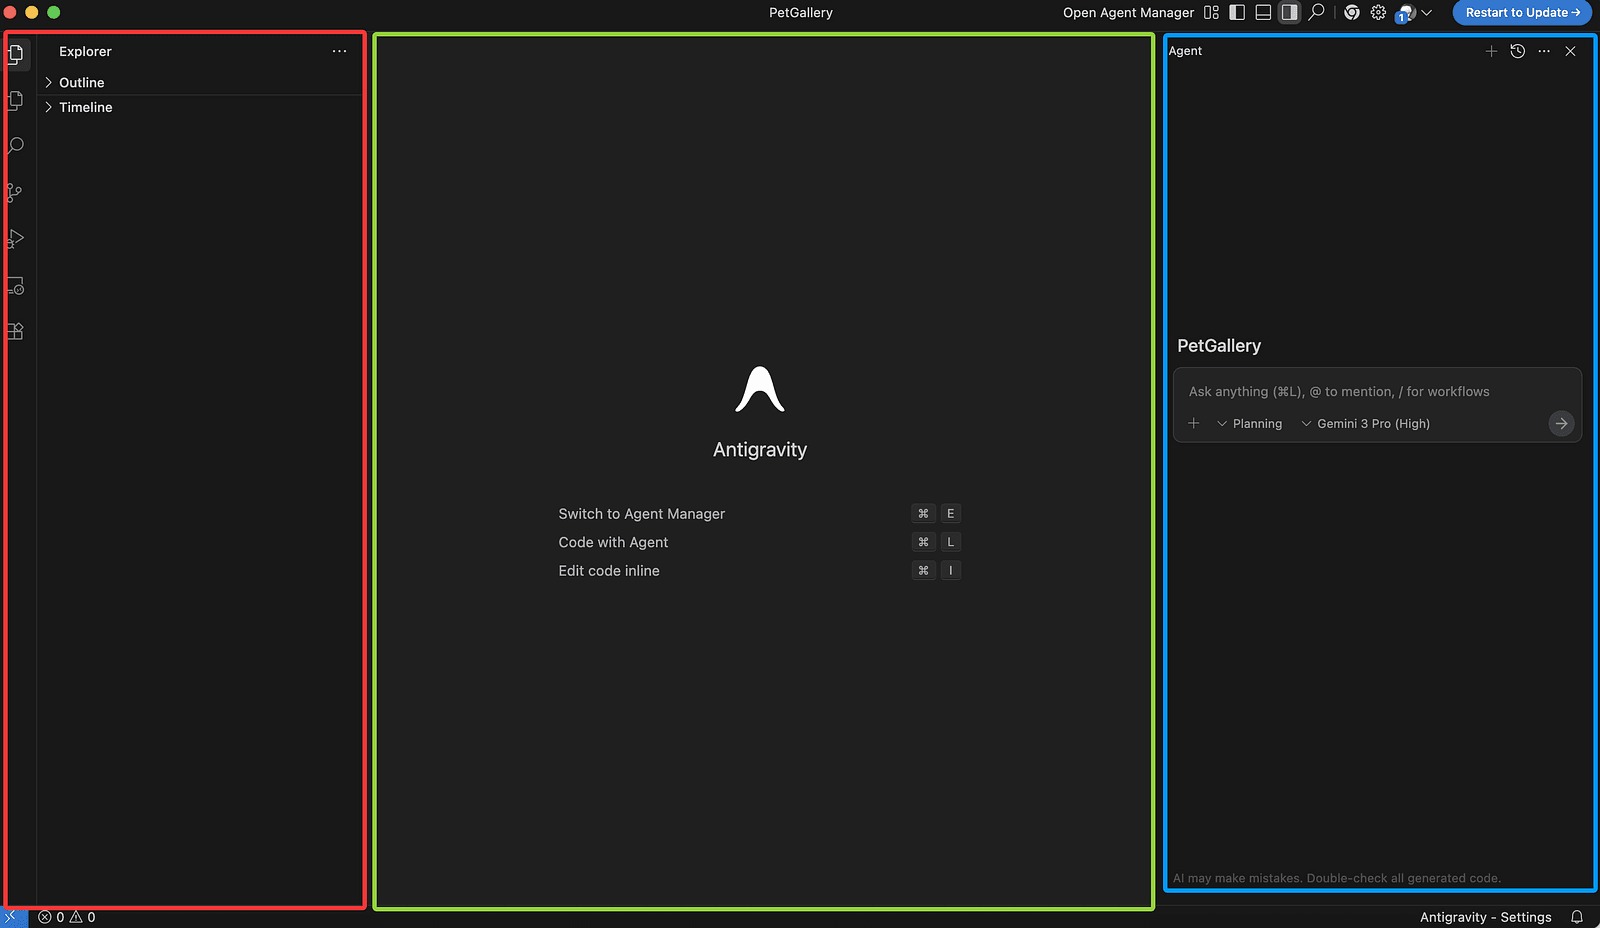
Once inside, the interface is divided into three main areas:
- Left: file explorer
- Center: code editor
- Right: AI model chat panel
Next, I selected the interaction mode.
I usually choose Planning Mode.
In Planning Mode, the agent asks for my approval before executing actions.
This makes it much safer, especially when working with local files, since it reduces the risk of accidental deletions or unwanted changes.
Fast Mode, on the other hand, executes actions immediately.
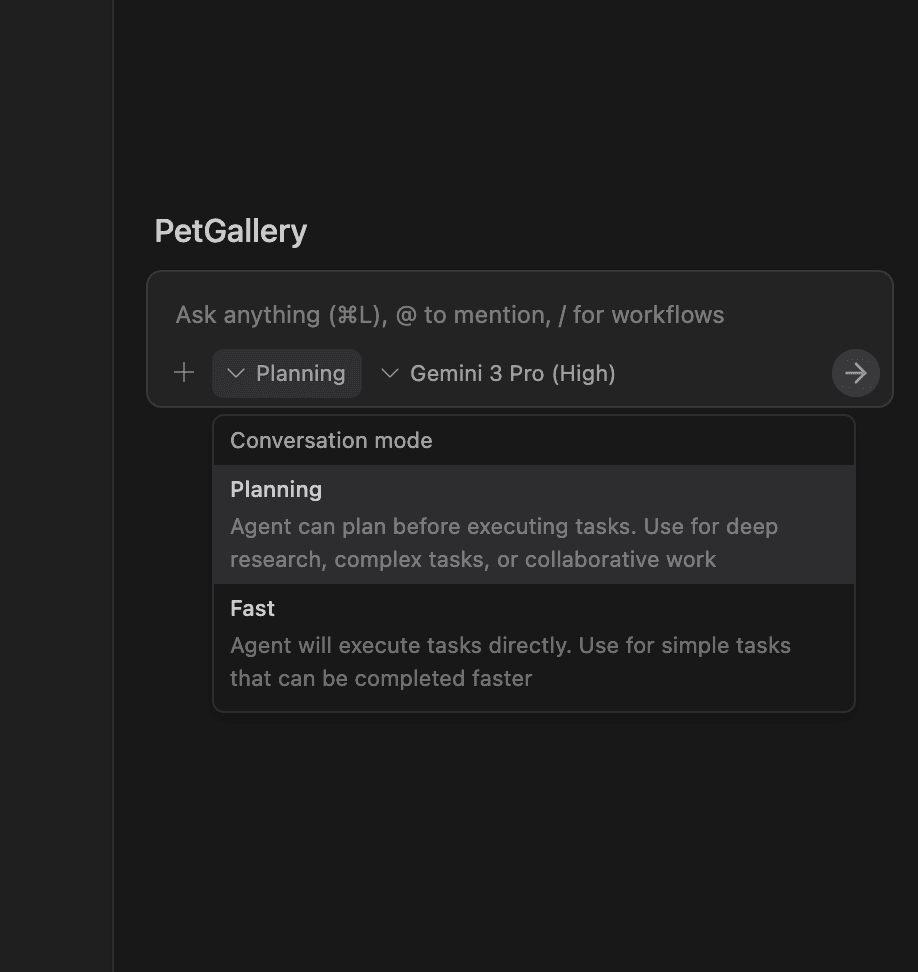
You can choose different models depending on your preference.
For this project, I selected Gemini 3 Pro (High).
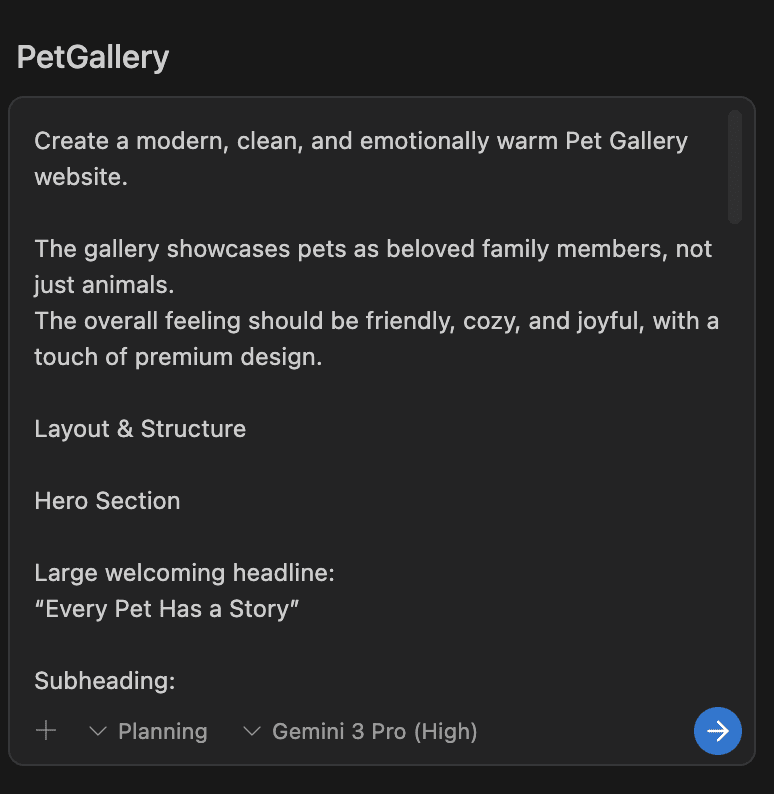
Then I entered my prompt to generate the website.
The Prompt I Used
Create a modern, clean, and emotionally warm Pet Gallery website.
The gallery showcases pets as beloved family members, not just animals.
The overall feeling should be friendly, cozy, and joyful, with a touch of premium design.
Layout & Structure
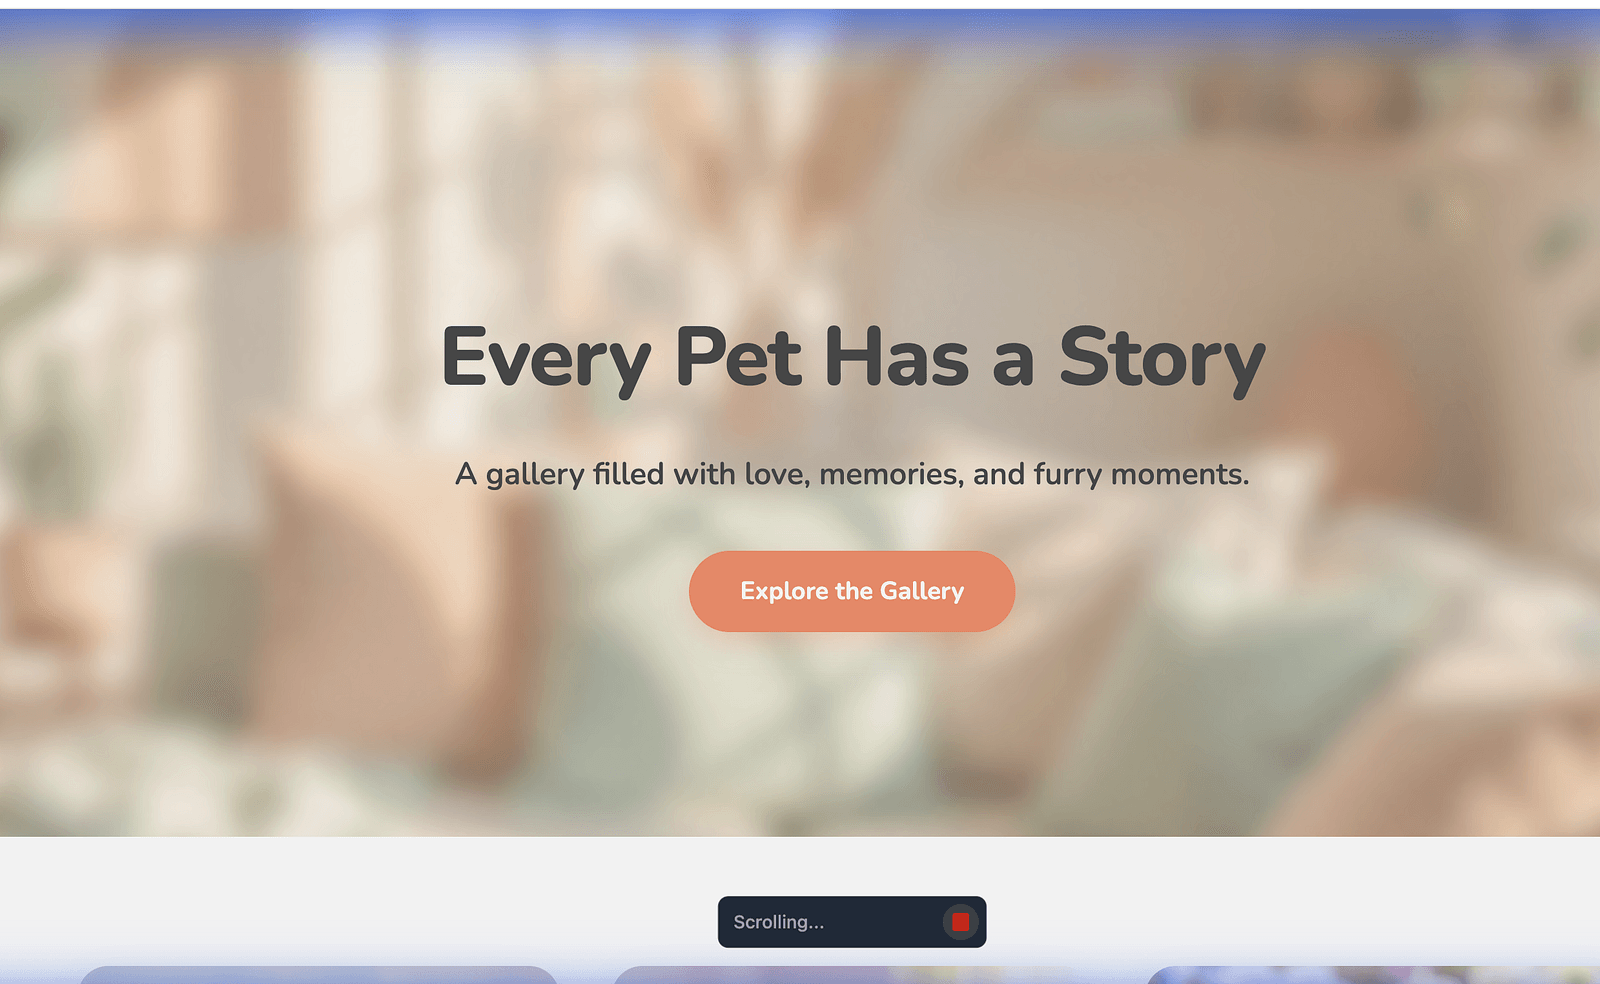
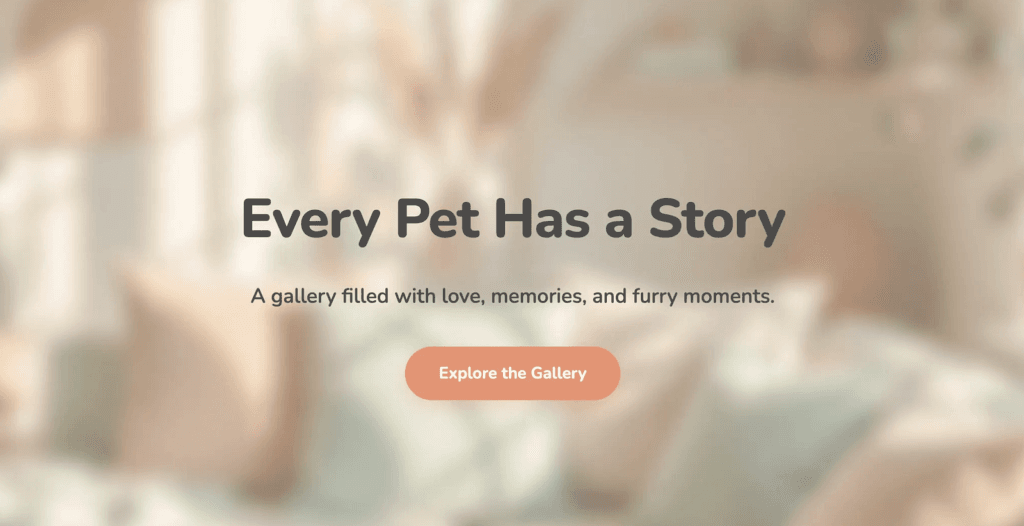
Hero Section
Large welcoming headline:
"Every Pet Has a Story"
Subheading:
"A gallery filled with love, memories, and furry moments."
Centered call-to-action button:
"Explore the Gallery"
Background image:
[IMAGE_PLACEHOLDER: hero_pet_collage]
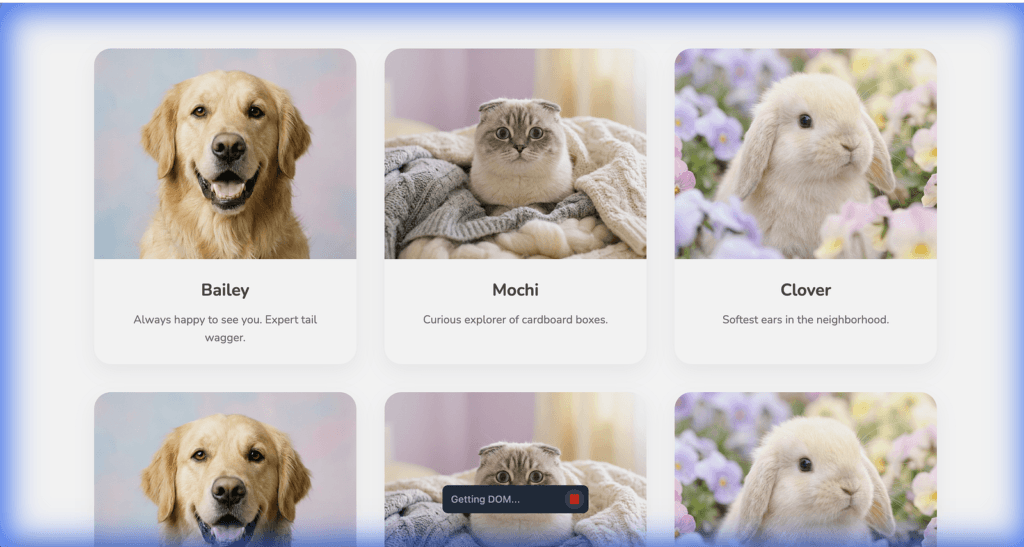
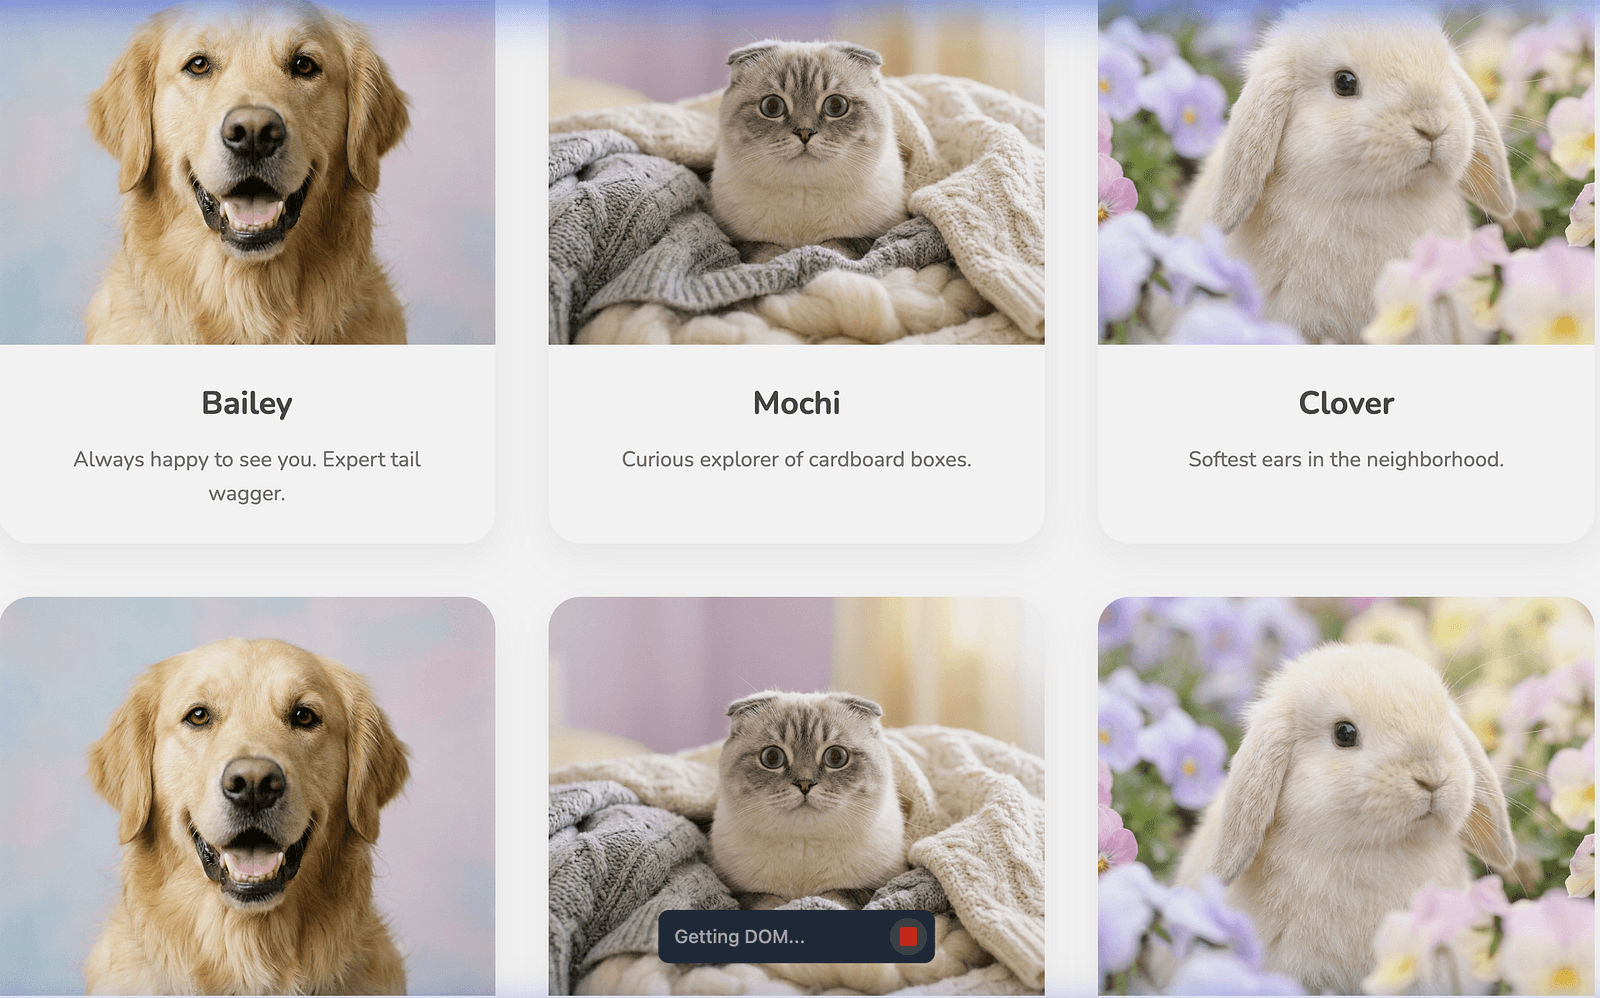
Pet Gallery Grid
Responsive grid layout (3–4 columns on desktop, 1–2 on mobile)
Each card includes:
Pet photo
[IMAGE_PLACEHOLDER: pet_image_1]
Pet name (bold, friendly font)
Short description (1–2 lines, emotional and warm)
Hover effect: soft shadow + slight zoom
Featured Pet Section
Larger highlighted card for a special pet
Image on one side
[IMAGE_PLACEHOLDER: featured_pet_image]
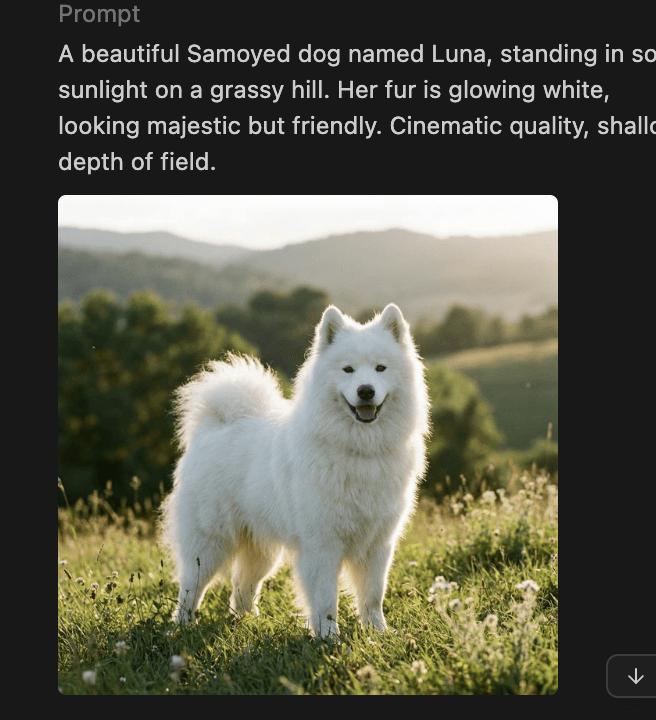
Story text on the other side:
"This is Luna. She loves sunlight, slow walks, and stealing socks."
About the Gallery
Short paragraph explaining the purpose of the gallery
Tone: heartfelt and human
Optional small illustration
[IMAGE_PLACEHOLDER: pet_illustration]
Footer
Simple footer with text:
"Made with love for pets and their humans 🐶🐱"
Visual Style
Soft pastel background colors
Rounded cards and buttons
Plenty of white space
Friendly sans-serif font
Subtle animations (fade-in, hover transitions)
Overall Goal
The site should feel like scrolling through a digital photo album full of warmth, love, and personality
Instead of immediately writing code, Antigravity first generated a Task Plan, breaking the project into:
- Project initialization
- System design
- Implementation
- Asset generation
- Testing

Then it generated an Implementation Plan and explicitly asked me to review it.
Only after I clicked Proceed did it continue execution.
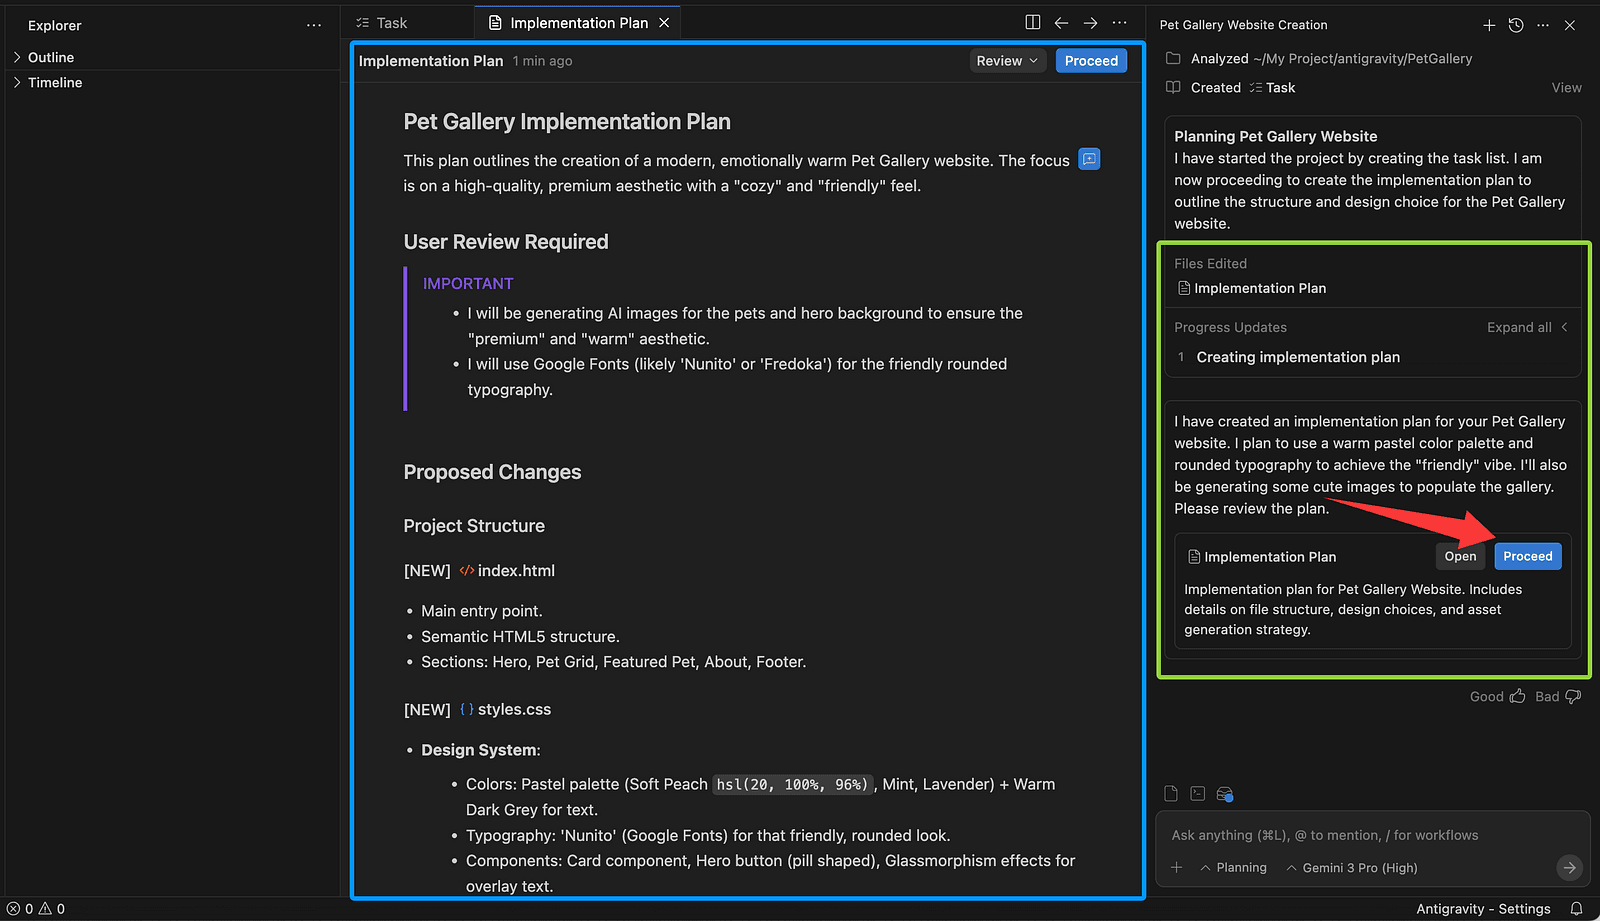
A nice detail here:
You can comment directly on the task plan and implementation plan, almost like code review comments.
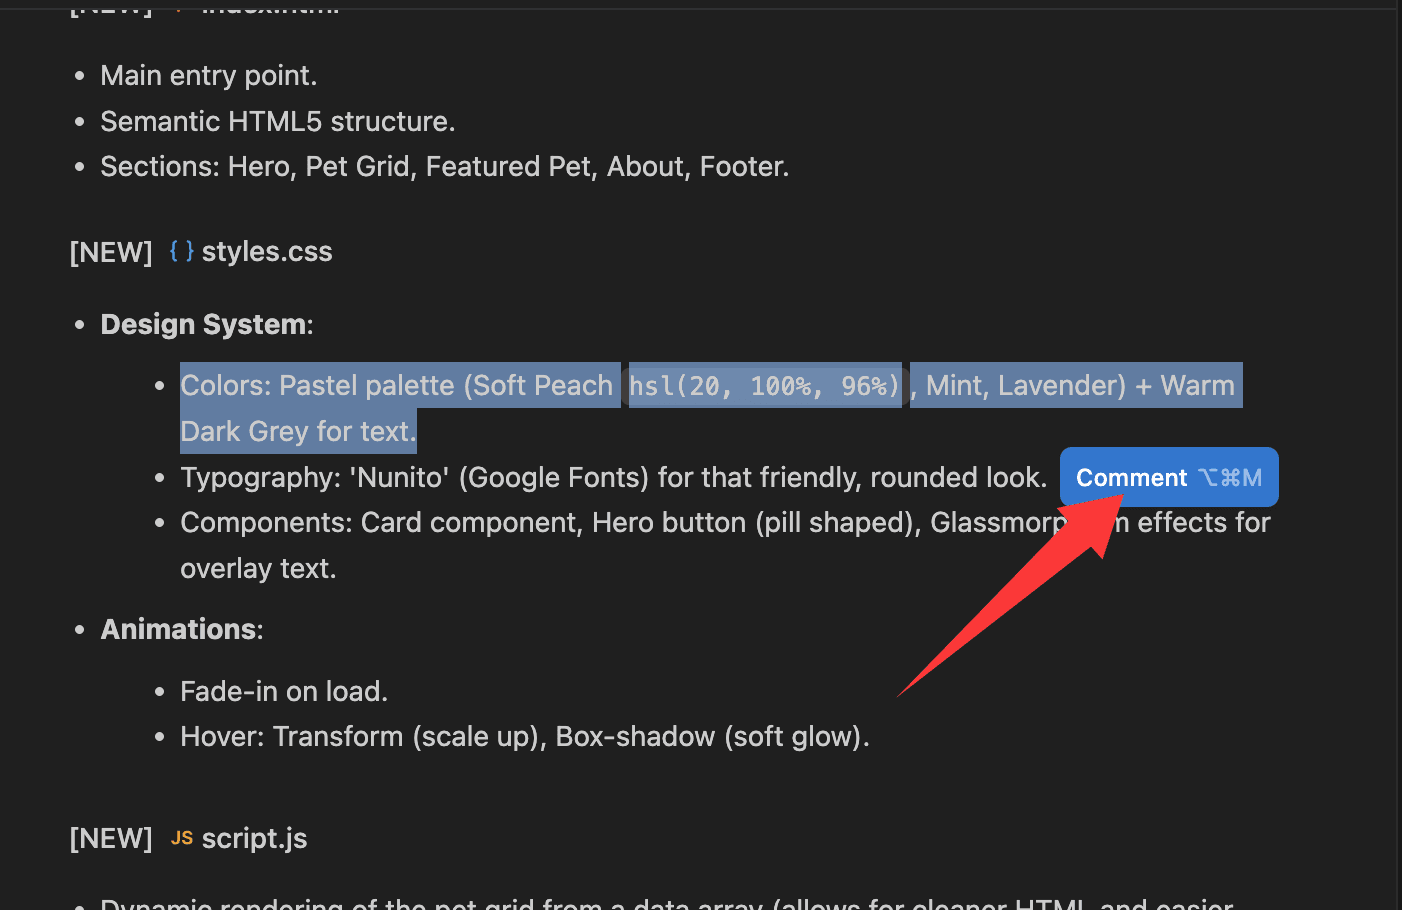
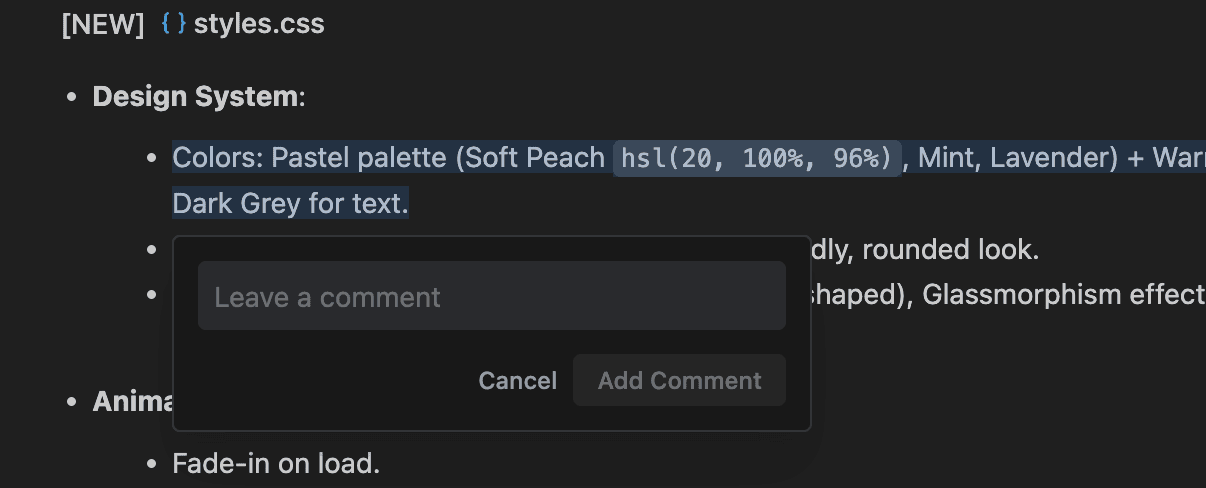
The model adjusts based on your feedback until you’re satisfied.
After making the necessary adjustments, click Proceed, and the model will continue executing the remaining tasks.
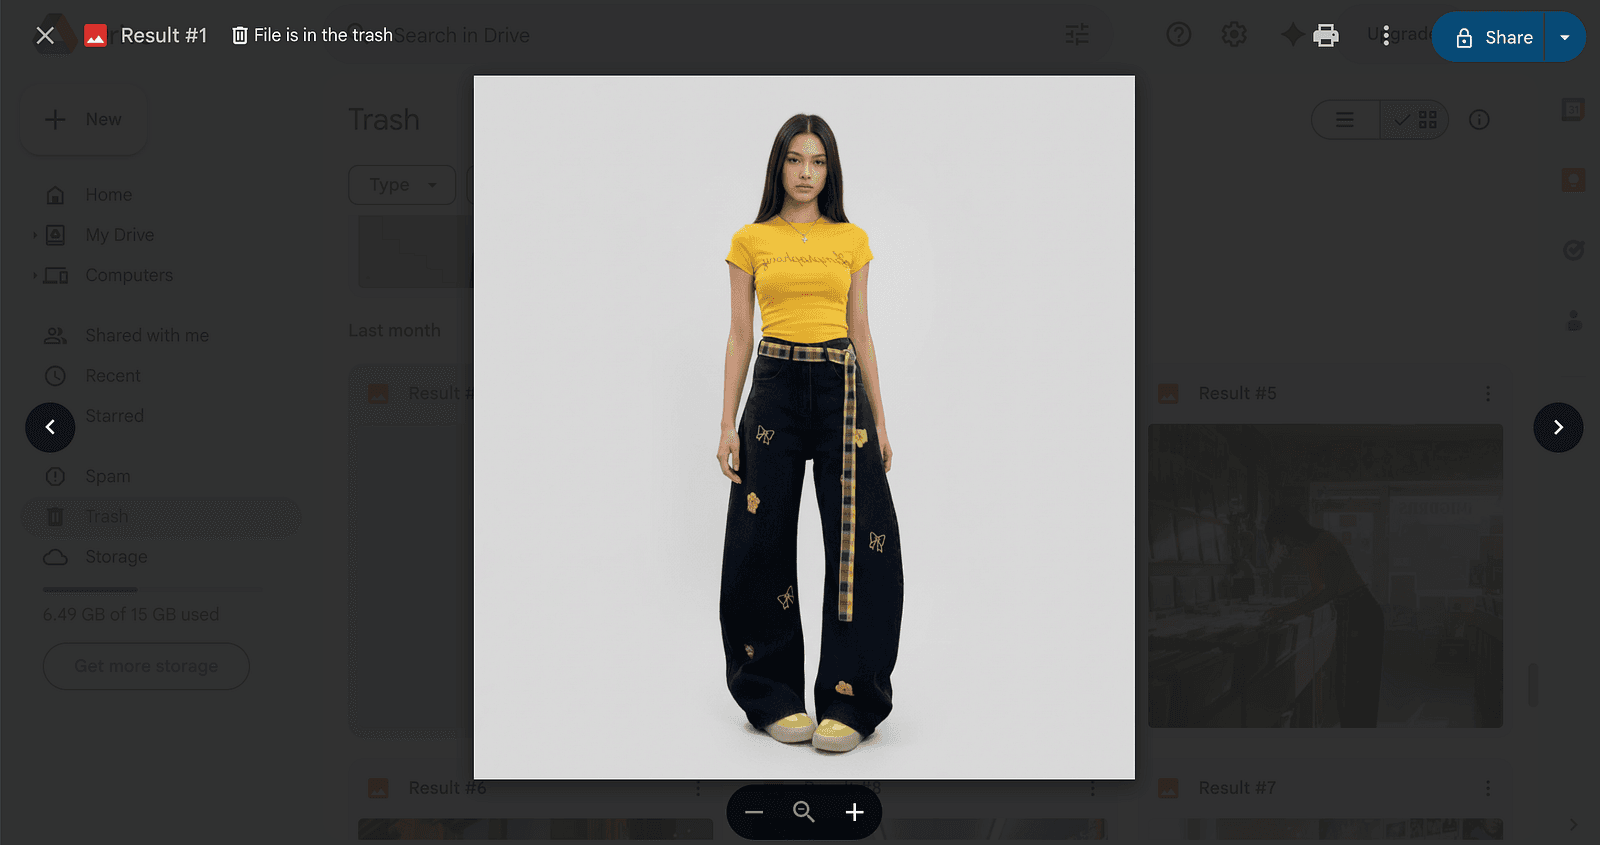
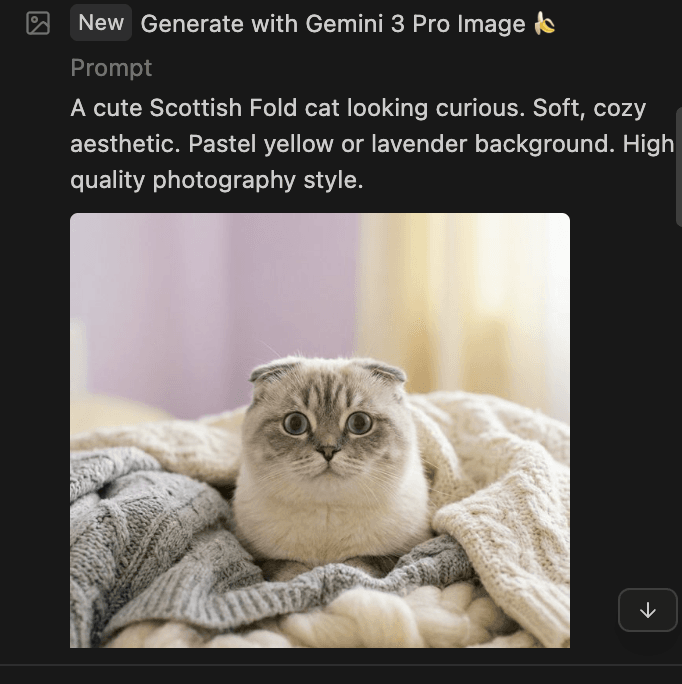
During execution, Antigravity generated multiple pet images automatically.
Throughout the process, you can clearly see the model’s:
- reasoning
- execution steps
- revisions
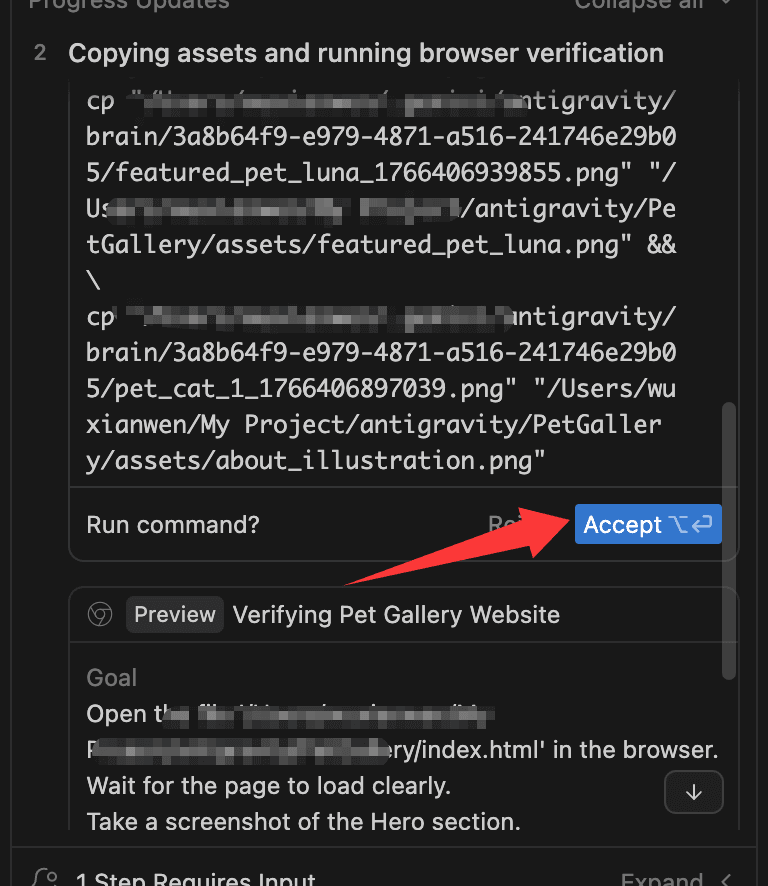
Once finished, Antigravity automatically opened a Chrome tab to test the site.
If it’s your first time, Antigravity will ask you to install a browser plugin.
After installation, the plugin can:
- click elements
- scroll pages
- capture screenshots
- report issues automatically
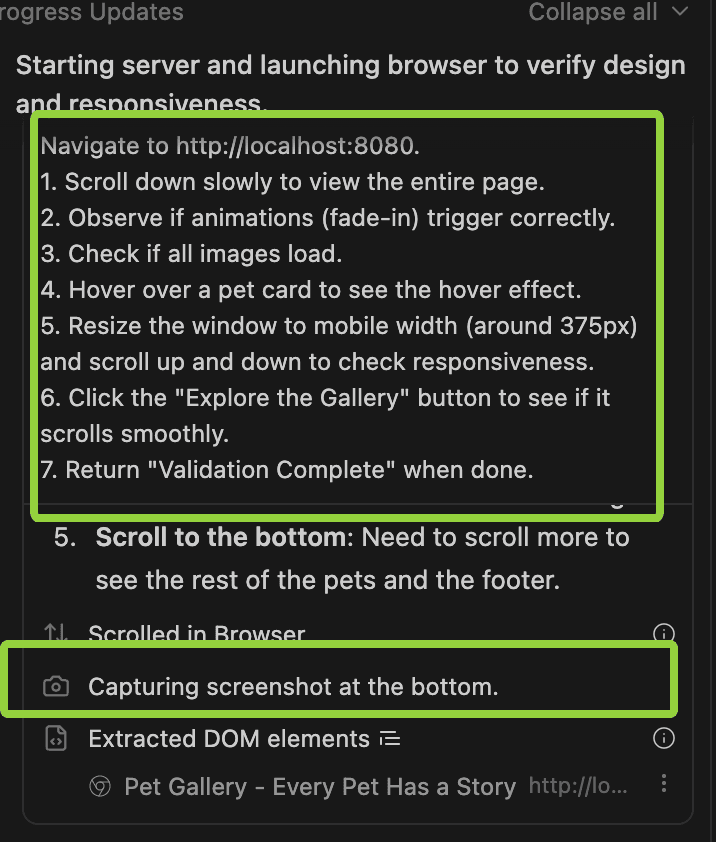
If issues are found, the model feeds the feedback back into the code and fixes them.


Here is the final Pet Gallery website generated by Antigravity:


Final Thoughts
After using Antigravity in a real project, my impression is simple:
It doesn’t try to be flashy.
It tries to be useful.
The combination of:
- planning-first workflow
- human-in-the-loop approval
- built-in image generation
- generous free access
makes Antigravity feel less like a demo and more like a serious development assistant.
It may not replace every tool you use today.
But it’s absolutely a tool worth experimenting with — especially if you value control, safety, and cost-efficiency.