A Practical Guide Using TinyProxy
For the past two days, I’ve been deep in a small experiment — trying to build a clean, lightweight proxy server on a VPS. I wanted something simple but reliable enough for browsing, debugging network issues, scraping small datasets, and verifying outbound IP.

I tested a handful of tools, but one thing became obvious very quickly: the simplest and most stable solution was TinyProxy — a tiny, tinyhttp-like HTTP proxy that just works.
Why TinyProxy?
Because it’s:
- Lightweight — almost zero memory usage
- Easy to install — one command on Ubuntu
- Fast — excellent performance for HTTP/HTTPS
- Transparent — logs, status, and errors are all visible
- Beginner-friendly — the config file is short and clear
This is probably the closest thing to a plug-and-play VPS proxy you’ll ever use.
Step 1: Install TinyProxy
Ubuntu / Debian
sudo apt update
sudo apt install tinyproxy -y
CentOS / Rocky / AlmaLinux
sudo dnf install epel-release -y
sudo dnf install tinyproxy -y
After installation, TinyProxy starts automatically.
Step 2: Configure TinyProxy
The config file is located at:
/etc/tinyproxy/tinyproxy.conf
The three most important lines are:
① Set the listening port
Port 8888
You can change this to anything you like: 8080, 10000, etc.
② Allow connections from your device
By default, TinyProxy only allows local access.
You must add your own IP:
Allow 127.0.0.1
Allow YOUR_PUBLIC_IP
If you’re just testing, you can temporarily allow everything:
Allow 0.0.0.0/0
③ (Optional) Add username/password
BasicAuth myuser mypass
Save and restart:
sudo systemctl restart tinyproxy
Step 3: Check Whether It’s Running
sudo systemctl status tinyproxy
You should see:
Active: active (running)
If you see:
Could not create listening sockets.
That means the port is already in use — the most common error.
Check whether 8888 is occupied:
ss -tulpen | grep 8888
If a stale TinyProxy process is stuck:
sudo kill -9 <PID>
sudo systemctl restart tinyproxy
Step 4: Test the Proxy (Most Important Section)
Installation success ≠ proxy usable.
You must actually test whether traffic goes through TinyProxy.
Test A — curl (most accurate)
curl -x http://your-vps-ip:8888 https://ipinfo.io
If TinyProxy is working, you’ll see the VPS IP:
{
  "ip": "123.456.xxx.xxx",
  "country": "US",
  ...
}
If it fails, you may see:
- Connection timed out
- 407 Proxy Authentication Required
- DNS loopback
- HTTP/403
These indicate that TinyProxy isn’t running properly or the network config is incorrect.
Test B — Chrome / Edge with SwitchyOmega
Set the profile to:
- Protocol: HTTP
- Server: your VPS IP
- Port: 8888
If using BasicAuth, fill in username/password.
Open: https://ipinfo.io/ip
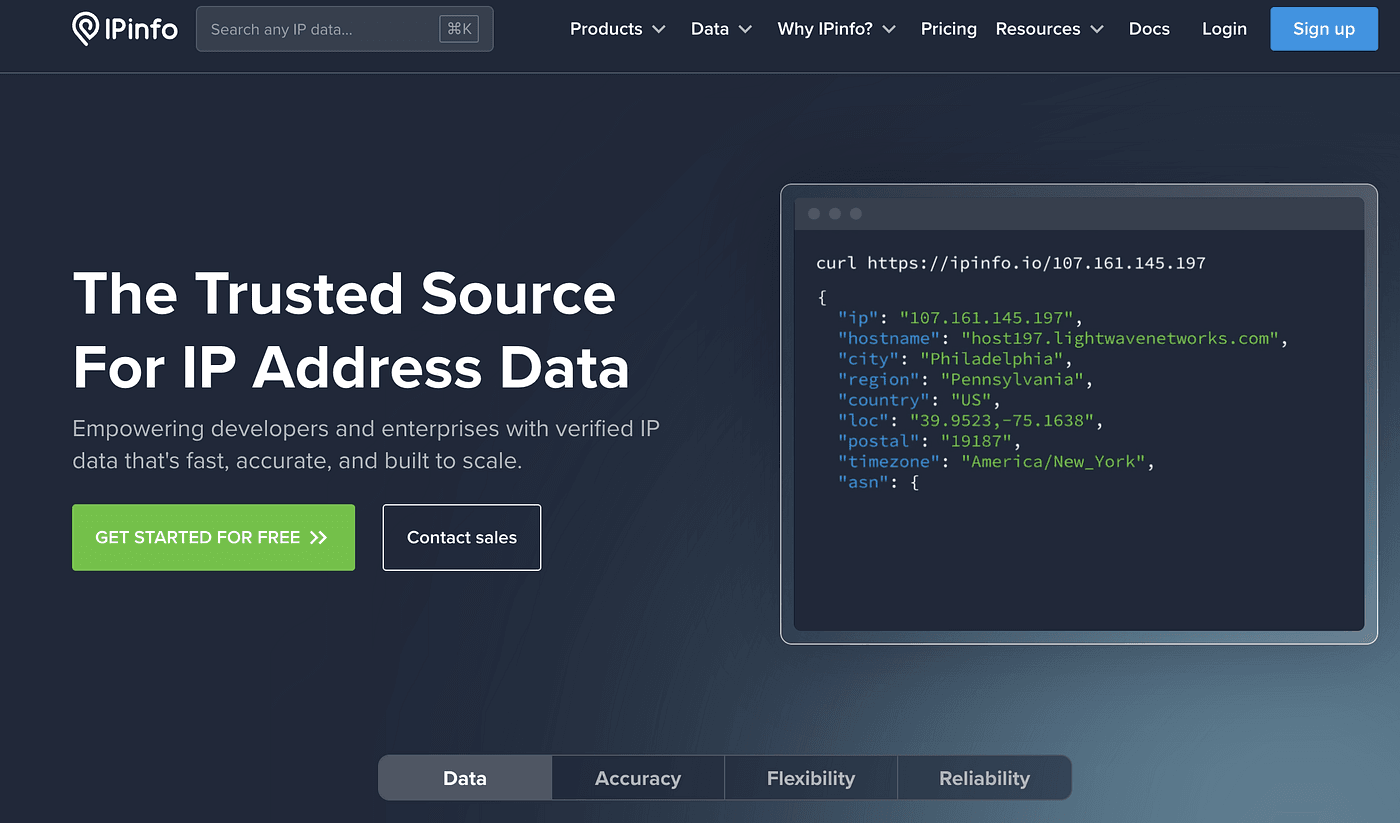
If you see the VPS IP, the proxy works.
Test C — System Proxy on macOS
System Settings → Network → Advanced → Proxies → Web Proxy (HTTP)
Fill in the VPS IP and port.
Visit Google / YouTube.
If they load normally, TinyProxy is working reliably.
Step 5: Make the Proxy Persistent
TinyProxy already ships with systemd:
sudo systemctl enable tinyproxy
It will automatically start after every reboot.
Final
Turning a VPS into an HTTP proxy is incredibly simple — as long as you choose the right tool and test it the right way. TinyProxy keeps everything lightweight, fast, and predictable, making it a fantastic option for developers, network testers, and anyone who needs a clean, stable HTTP proxy.